How to Deploy Contract From NodeJS using Web3?
Last Updated :
10 Jan, 2023
This article focuses on discussing deploying a contract from NodeJS using web3. The following topics will be covered in this article:
- Introduction to web3js modules.
- How to generate ABI and bytecode using web3js.
- Compilation and deployment of smart contracts using web3js.
Software requirements:
- Nodejs.
- Ganache.
- Text editor - VS Code
1. Introduction to web3.js modules
web3.js as an interface that connects our real-time world applications with the Smart contract.

When we want to connect any website with a smart contract that is deployed on the blockchain web3.js acts as an intermediatory so that they both can interact with each other. In simpler terms, in the decentralized application, we connect our frontend with the smart contract at the backend with the help of a library i.e. web3.js.
Let's now get over to the development part.
Step 1: Create a folder of your choice and inside that add a package.json file using the command:
npm init -y
Make sure you have installed the node, you can verify it using the commands:
node -v
npm -v

Step 2: This package.json file will contain all installed packages, currently, it doesn't include any package. Let's now add web3.js to our package.json file by using the command -
npm install --save web3
It will take some time to install so be patient. Now you might notice some changes in your folder and also the package.json file.

Step 3: It can be noticed that there is a dependency of web3 added along with the node modules folder created. To see what all features web3 provides let's head towards the node terminal. The node terminal can be accessed using the command node in the command prompt.

Step 4: Import web3 to the terminal so that one can interact with it on the console. For this type the following command:
> let Web3 = require("web3");
// the variable name is starting with "W" this is because we will make a class of web3 here.
This will give undefined as output but after that type command:
> Web3

After typing Web3 command a bunch of code appears in the terminal and this is what the web3 library contains.
2. Interacting web3.js with Ganache
Step 1: Create web3 object and connect it with the Ganache. Before that check, Ganache is installed in the system. If Ganache is already installed then one would be able to see an HTTP URL that Ganache provides i.e.
HTTP://127.0.0.1:7545
> let web3 = new Web3(new Web3.providers.HttpProvider("HTTP://127.0.0.1:7545"));
Step 2: This command will give undefined as an output but after that type the command:
> web3
Step 3: Ganache can be controlled with the help of web3. Many functionalities can be used now such as to get the balance details of any account of Ganache.
> web3.eth.getBalance("Paste any Ganache Address here").then(function(value) {console.log(web3.utils.fromWei(value,"ether"));})

The output balance can be verified in Ganache for the specific address that is entered.
3. Interacting web3.js With Smart Contracts and Compiling Smart Contracts
Step 1: In the folder create a solidity file and a JavaScript file. Here, the solidity file is named as initial.sol and javascript file as initial.js. For demonstration purposes, a small getter and setter solidity smart contract is created. Paste the smart contract into your solidity file.
Solidity
// SPDX-License-Identifier: GPL-3.0
pragma solidity >=0.7.0 <0.9.0;

contract initial{

    string public message;

    constructor(){
        message="Hello World";
    }

    function setMessage(string memory _newMessage) public{
        message=_newMessage;
    }

    function getMessage() public view returns(string memory){
        return message;
    }
}
-(1).png) Project Setup in VsCode
Project Setup in VsCodeStep 2: In Remix IDE, an ABI and a Bytecode is generated when the smart contract is compiled successfully.

Step 3: To get the same ABI and Bytecode in the code there is a need to first install solc compiler and a file reader i.e. fs using the command:
npm install solc
npm install fs
Step 4: After installing solc and fs, get to the JavaScript file initial.js and make use of them.

Step 5: The solc, fs, web3 are imported and Ganache linked to web3.js is set up. Let's now read the contents of the file using below command:-
node initial.js

Step 6: To give input to the solc compiler there is a proper input structure is required:
 Input Structure of Solidity Compiler
Step 7: After giving the file input to the solc compiler, the compiler will provide us with the output, and that output needs to be converted into JSON format so as to get the ABI and Bytecode from the output.
 Bytecode and ABI
Below is the JavaScript code for the above approach:
JavaScript
// solc compiler
solc = require("solc");

// file reader
fs = require("fs");

// Creation of Web3 class
Web3 = require("web3");

// Setting up a HttpProvider
web3 = new Web3(new Web3.providers.HttpProvider("http://127.0.0.1:7545"));

// Reading the file
file = fs.readFileSync("initial.sol").toString();
console.log(file);

// Input structure for solidity compiler
var input = {
    language: "Solidity",
    sources: {
      "initial.sol": {
        content: file,
      },
    },

    settings: {
      outputSelection: {
        "*": {
          "*": ["*"],
        },
      },
    },
  };

  var output = JSON.parse(solc.compile(JSON.stringify(input)));
  console.log("Result : ", output);

  ABI = output.contracts["initial.sol"]["initial"].abi;
  bytecode = output.contracts["initial.sol"]["initial"].evm.bytecode.object;
  console.log("Bytecode: ", bytecode);
  console.log("ABI: ", ABI);
Step 8: Let's now get the ABI and Bytecode as an output:
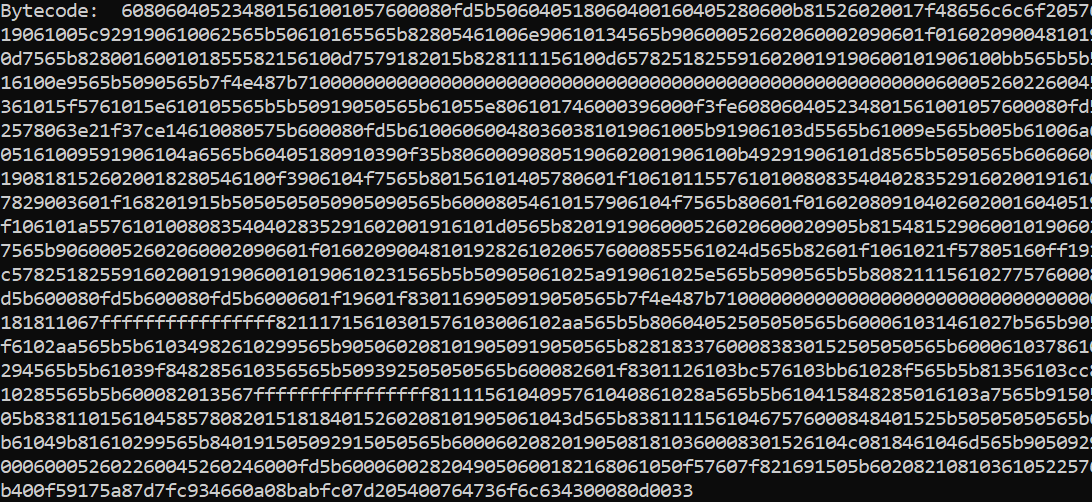 Byte Code of The Smart Contract
 ABI of The Smart Contract
Now since we have successfully compiled our smart contract, let's now deploy our smart contract.
4. Deploying Smart Contract
Step 1: For deploying of the smart contract there is a need for a contract class instance. Let's display all the accounts of Ganache.
 Accounts Addresses of The Ganache
Step 2: To deploy the smart contract, choose an account through which the smart contract will be deployed. In this demo, the first account address is chosen.Output
 Choose the Account Address
Below is the JavaScript code to implement the above approach:
JavaScript
// solc compiler
solc = require("solc");

// file reader
fs = require("fs");

// Creation of Web3 class
Web3 = require("web3");

// Setting up a HttpProvider
web3 = new Web3(new Web3.providers.HttpProvider("http://127.0.0.1:7545"));

// Reading the file
file = fs.readFileSync("initial.sol").toString();

// console.log(file);

// input structure for solidity compiler
var input = {
    language: "Solidity",
    sources: {
        "initial.sol": {
            content: file,
        },
    },

    settings: {
        outputSelection: {
            "*": {
                "*": ["*"],
            },
        },
    },
};

var output = JSON.parse(solc.compile(JSON.stringify(input)));
// console.log("Result : ", output);

ABI = output.contracts["initial.sol"]["initial"].abi;
bytecode = output.contracts["initial.sol"]["initial"].evm.bytecode.object;
// console.log("Bytecode: ", bytecode);
// console.log("ABI: ", ABI);


contract = new web3.eth.Contract(ABI);
web3.eth.getAccounts().then((accounts) => {
    // Display all Ganache Accounts
    console.log("Accounts:", accounts);

    mainAccount = accounts[0];

    // address that will deploy smart contract
    console.log("Default Account:", mainAccount);
    contract
        .deploy({ data: bytecode })
        .send({ from: mainAccount, gas: 470000 })
        .on("receipt", (receipt) => {

            // Contract Address will be returned here
            console.log("Contract Address:", receipt.contractAddress);
        })
        .then((initialContract) => {
            initialContract.methods.message().call((err, data) => {
                console.log("Initial Data:", data);
            });
        });
});
Output:
 Output
The output shows the contract address, this means that the contract is successfully deployed. The Initial Data is also printed that is set to Hello World in the smart contract.
However, now there are tools like hardhat and truffle so there is no need to write and do all of this from scratch.
Similar Reads
How to Use Node.js for Backend Web Development?
In the world of website design nowadays, NodeJS is a supportive tool for making capable backend systems. Whether you are an experienced web designer or just beginning out, NodeJS can upgrade your aptitude and help you in building extraordinary websites. This guide will show you how to use NodeJS to
8 min read
How to Download a File Using Node.js?
Downloading files from the internet is a common task in many Node.js applications, whether it's fetching images, videos, documents, or any other type of file. In this article, we'll explore various methods for downloading files using Node.js, ranging from built-in modules to external libraries.Using
3 min read
How to Simply Deploy a Smart Contract on Ethereum?
Smart contracts are blocks of code that reside on the blockchain. It is like an Ethereum account but there is a critical difference between an external account and a smart contract. Unlike a smart contract, an external account can connect to multiple Ethereum networks (Goerli testnet, mainnet, etc.)
7 min read
How to Send Email using NodeJS?
Sending emails programmatically is a common requirement in many applications, especially for user notifications, order confirmations, password resets, and newsletters. In this article, we will learn how to build a simple email-sending system using NodeJS. We will use Nodemailer, a popular module for
5 min read
How to Retrieve Data from MongoDB Using NodeJS?
MongoDB, the most popular NoSQL database, is an open-source document-oriented database. The term ‘NoSQL’ means ‘non-relational’. It means that MongoDB isn’t based on the table-like relational database structure but provides an altogether different mechanism for the storage and retrieval of data. Thi
3 min read
How to deploy Node.js app on Heroku from GitHub ?
In this article, we will be looking at how to deploy your Demo Node.js app to Heroku. At the end of this article, we will have a basic Hello World app running on a public domain that can be accessed by anyone. The Node must be installed on your machine. Refer to this article How to install Node on y
3 min read
How to Deploy Node Backend on Vercel ?
To deploy a Node.js backend to Vercel, you can follow the simple approach that involves setting up your Node.js project, configuring necessary files, and using the Vercel CLI. Vercel is known for its ease of use and automatic optimizations, making it an excellent choice for deploying full-stack appl
2 min read
How to store deployment configuration files in Node.js ?
Configuration files (CONFIG file ) are files used by various computer applications which consists of parameters which determine the settings required to run the application program successfully. Generally, they are used before writing any software application program. Every website has a specific fu
3 min read
How to create routes using Express and Postman?
In this article we are going to implement different HTTP routes using Express JS and Postman. Server side routes are different endpoints of a application that are used to exchange data from client side to server side.Express.js is a framework that works on top of Node.js server to simplify its APIs
3 min read
How to Get Data from MongoDB using Node.js?
One can create a simple Node.js application that allows us to get data to a MongoDB database. Here we will use Express.js for the server framework and Mongoose for interacting with MongoDB. Also, we use the EJS for our front end to render the simple HTML form and a table to show the data. Prerequisi
6 min read