How to Add Node to Existing Kubernetes Cluster
Last Updated :
26 Apr, 2024
Kubernetes allows the management and orchestration of containerized deployments. We can use various cluster managing tools, but Kubeadm allows us to create and manage Kubernetes clusters from scratch. Kubernetes cluster can be autoscaled with the use of Cluster management services. In this article, we will see how we can manually add a node to an existing cluster.
Primary Terminologies
- Kubernetes: It is an open-source container orchestration platform designed to automate the deployment, scaling, and management of containerized applications.
- Kubernetes Cluster: It's a set of nodes on which containerized applications run.
- Kubeadm: a Tool for creating and managing Kubernetes clusters.
Add new node to existing Kubernetes cluster
Step 1: View the existing cluster and get the kubeadm join command.
- Go to the master node of the existing Kubernetes cluster and review its configuration.
- View the existing nodes using the below command.
kubectl get nodes

- Once reviewed get kubeadm to join the command from the below command and copy it down.
kubeadm token create --print-join-command

Step 2: Disable the firewall for the new node.
- As we will be starting Kubernetes API server the firewall may interfere with our output. Hence disable the firewall using the below command.
sudo ufw disable
- Then disable swapping for swapping devices using the below commands.
swapoff -a
sudo sed -i '/swap/d' /etc/fstab
- Now we will add following parameters in kernel parameters. Run below command.
cat <<EOF | sudo tee /etc/sysctl.d/k8s.conf
net.bridge.bridge-nf-call-iptables  = 1
net.bridge.bridge-nf-call-ip6tables = 1
net.ipv4.ip_forward                 = 1
EOF
.png)
Step 3: Install the certificate applications.
- Install the below applications with the help of below command.
sudo apt install -y apt-transport-https ca-certificates curl gnupg-agent software-properties-common
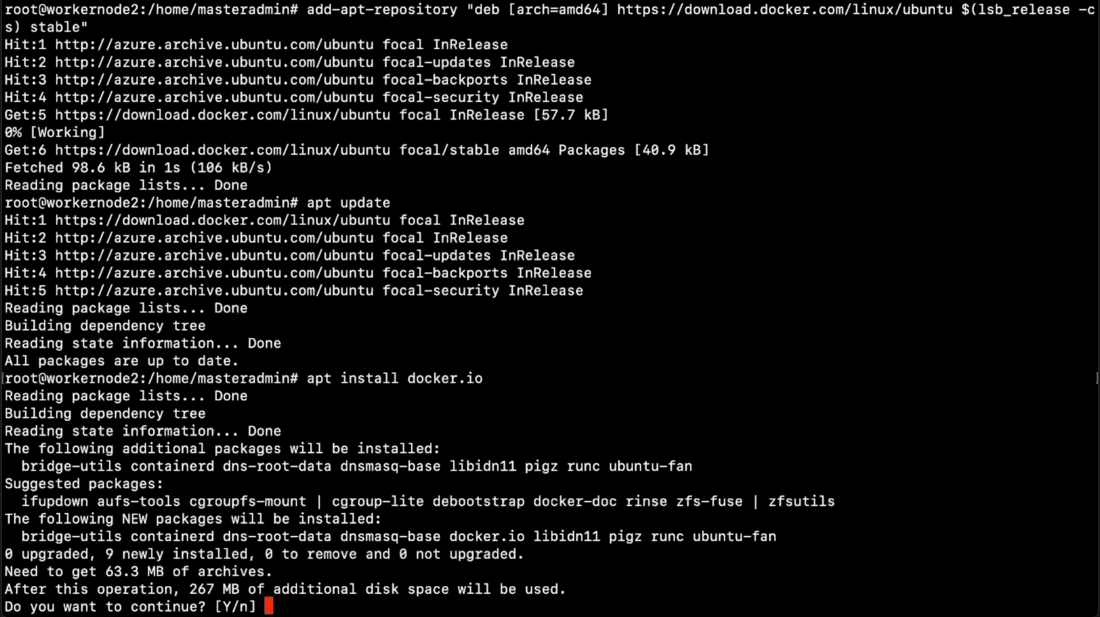
Step 4: Install Docker
- Now lets install docker as root user . first switch to root user
sudo su
curl -fsSL https://download.docker.com/linux/ubuntu/gpg | apt-key add -
add-apt-repository "deb [arch=amd64] https://download.docker.com/linux/ubuntu $(lsb_release -cs) stable"
apt update
apt install docker.io
Step 5: Install Kubernetes
- Being as root add kubernetes keyrings using below command.
sudo mkdir -p -m 755 /etc/apt/keyrings
curl -fsSL https://pkgs.k8s.io/core:/stable:/v1.29/deb/Release.key | sudo gpg --dearmor -o /etc/apt/keyrings/kubernetes-apt-keyring.gpg
sudo chmod 644 /etc/apt/keyrings/kubernetes-apt-keyring.gpg
- Add kubernetes list of packages to apt and allow required permissions.
echo 'deb [signed-by=/etc/apt/keyrings/kubernetes-apt-keyring.gpg] https://pkgs.k8s.io/core:/stable:/v1.29/deb/ /' | sudo tee /etc/apt/sources.list.d/kubernetes.list
sudo chmod 644 /etc/apt/sources.list.d/kubernetes.list
apt update

- Finally install kubelet , kubeadm & kubectl
apt-get install -y kubelet kubeadm kubectl

Step 6: Connect The new worker node.
- On new worker node after following step 2 to 5 Run the kubeadm command copied from master node.
- You should see that worker node has joined.

Step 7: Verify the cluster.
Now lets verify that new node has been added to the cluster.
- On master node run Kubernetes commands to list all nodes.
kubectl get nodes

Conclusion
Thus we have seen how we can add a new node to the existing kubernetes cluster. This allows to autosclae kubernetes cluster manually from scratch allowing to manage each node separately. Like this we can add or remove nodes from cluster as requirement.
Similar Reads
How to Scale a Kubernetes Cluster ? Scaling a Kubernetes cluster is crucial to meet the developing needs of applications and ensure the finest performance. As your workload increases, scaling becomes vital to distribute the weight, enhance useful resource usage, and maintain high availability. This article will guide you through the t
8 min read
How to Upgrade a Kubernetes Cluster? Kubernetes, the open-source field orchestration platform, is continuously evolving to satisfy the demands of modern applications. Regularly upgrading your Kubernetes cluster is essential to leverage new capabilities, safety patches, and overall performance enhancements. In this article, we can dive
10 min read
How to Add Roles to Nodes in Kubernetes? Kubernetes (or k8) is an open-source container orchestration platform that helps in managing various containers. Its architecture consists of nodes that represent worker machines and the containers run inside those machines. The machines, or nodes, may require some roles attached to them as well in
2 min read
Kubernetes Pods: How to Create and Manage Them Kubernetes is an open-source container orchestration system mainly used for automated software deployment, management, and scaling. Kubernetes is also known as K8s. Kubernetes was originally developed by Google, but it is now being maintained by the Cloud Native Computing Foundation. It was original
13 min read
How To Use Kind To Deploy Kubernetes Clusters? Kind also referred to as Kubernetes in Docker is a popular open-source tool used for running a Kubernetes cluster locally. Kind uses Docker containers as Cluster Nodes making it substantially faster than its alternatives like Minikube or Docker Desktop which uses a Virtual Machine. Kind is commonly
10 min read