

NiceGUI is an open-source Python framework for building web-based graphical user interfaces (GUIs). It enables developers to create interactive dashboards, data visualization tools, machine learning interfaces, and web applications using only Python, without writing HTML, CSS, or JavaScript.
- Automatic browser refresh during development.
- Rich collection of UI components such as buttons, labels, inputs, sliders, tables, and dialogs.
- Built-in support for data binding.
- Layout components such as rows, columns, and cards.
- Interactive charts, plots, and 3D visualizations.
- Runs locally or can be deployed as a web application
Installation
Install NiceGUI using following command:
pip install nicegui
Basic Structure of a NiceGUI Application
A NiceGUI application is composed of a few core components that work together to create and display a web-based user interface.
- Import ui: Import the ui module from NiceGUI to access UI components and application functions.
- Create UI Components: Add elements such as labels, buttons, inputs, sliders, and other widgets using the ui module.
- Define Event Handlers (Optional): Attach callback functions to respond to user interactions such as button clicks or input changes.
- Arrange Components: Organize UI elements using layout containers such as rows, columns, and cards.
- Run the Application: Call ui.run() to start the local web server and display the application in a web browser.
Creating Your First NiceGUI Application
The following example creates a simple NiceGUI application that displays a text label and a button. Clicking the button shows a notification in the browser.
# Importing the module
from nicegui import ui

# passing the text we will show
ui.label('Hello Geeks from NiceGUI!')

# running it
ui.run()
To run this code simply save it and execute it normally like any other Python code. either using the run button or writing the below command in terminal.
python <filename>.py
This run opens up users' default browser in localhost and every time we make any change to our code just save it and the page will reload automatically, no need to explicitly reload it.

Output

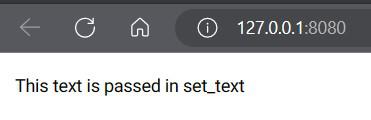
We can display some text also using the set_text() method of the label. Even if we have something written inside a normal label, only the text passed in set_text will be shown, and the other one will be replaced.
from nicegui import ui

# set_text will replace the text
# passed in label
ui.label('Hello Geeks from NiceGUI!').set_text("This text is passed in set_text")


ui.run()
Output
Setting visibility of the text
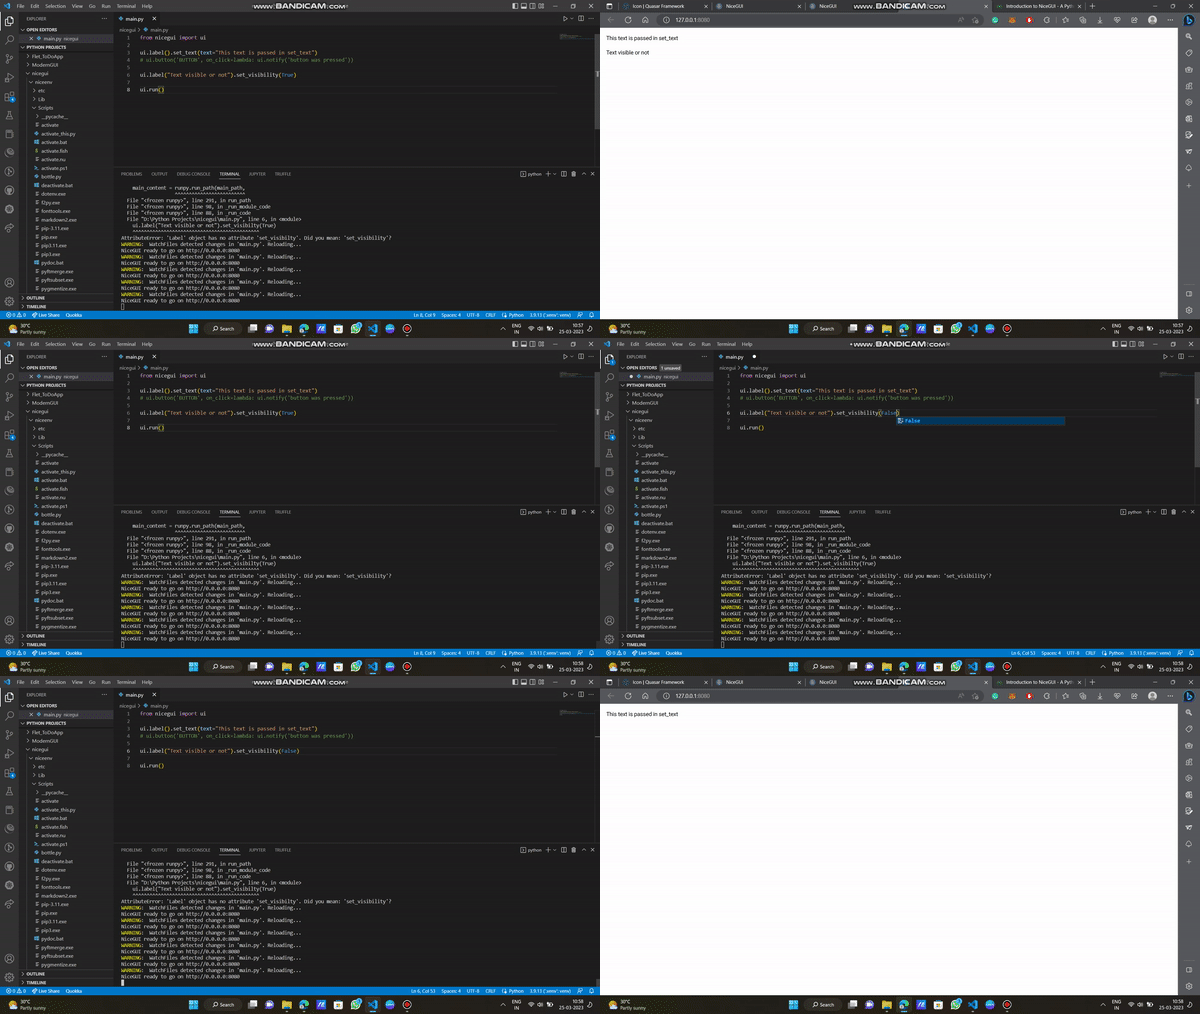
The visibility of a label can be controlled using the set_visibility() method. It accepts a Boolean value (True or False) to determine whether the label should be displayed.
from nicegui import ui

ui.label("Visible Label")

ui.label("Hidden Label").set_visibility(False)

ui.run()
Output
Explanation:
- The first label is visible by default.
- set_visibility(False) hides the second label, preventing it from being displayed.
- Passing True makes the label visible again.
Note: set_visibility() only changes whether a component is displayed; it does not remove the component from the page or delete it.
Adding Icons
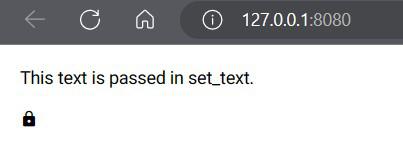
NiceGUI provides the ui.icon() component to display icons in a web application. It supports Google Material Icons, allowing you to easily add visual elements to buttons, labels, menus, and other UI components.
from nicegui import ui

ui.label("Locked Resource")

ui.icon("lock")

ui.run()
Output
Explanation:
- ui.icon() creates an icon component.
- "lock" specifies the Material icon to display.
- The icon is rendered below the label in the browser.
Changing the color and the size of the Icon
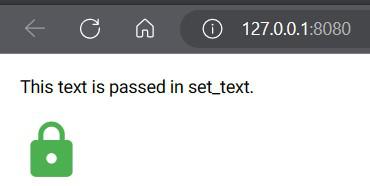
NiceGUI allows you to customize the appearance of icons by specifying their color and size. This helps make important actions or status indicators more visually noticeable.
from nicegui import ui

ui.icon(
    "lock",
    color="green",
    size="50px"
)

ui.run()
Output:
Explanation
- ui.icon() creates a Material icon.
- color="green" changes the icon color to green.
- size="50px" increases the icon size to 50 pixels.
- The customized icon is displayed in the browser when the application runs.
Users can use any icons available on the Google Fonts website and go to the Icon section. Just pass the name of the font as a parameter and add styling if necessary.
Set the Visibility of the Icon using set_visibility() Method
The visibility of an icon can be controlled using the set_visibility() method. It accepts a Boolean value to determine whether the icon should be displayed.
from nicegui import ui

ui.icon(
    "lock",
    color="green",
    size="50px"
).set_visibility(False)

ui.run()
Output:
Explanation
- ui.icon() creates a Material icon.
- color="green" changes the icon color.
- size="50px" sets the icon size to 50 pixels.
- set_visibility(False) hides the icon, so it is not displayed in the browser.
Visibility is set to True:
from nicegui import ui

ui.label().set_text(text="This text is passed in set_text.")

# visibility is set to True
ui.icon("lock",color="green",size="50px").set_visibility(True)

ui.run()
Output:
Working with Interactive Components
NiceGUI provides interactive components such as sliders, number inputs, and toggle buttons that allow users to provide input and interact with an application. These components can be linked together using data binding, so that updating one component automatically updates the others.
from nicegui import ui


class Demo:
    def __init__(self):
        self.number = 1


demo = Demo()

# Create a slider
ui.slider(min=1, max=5).bind_value(demo, "number")

# Create a number input
ui.number().bind_value(demo, "number")

# Create toggle buttons
ui.toggle({
    1: "A",
    2: "B",
    3: "C",
    4: "D",
    5: "E",
}).bind_value(demo, "number")

ui.run()
Output

Adding Avatars
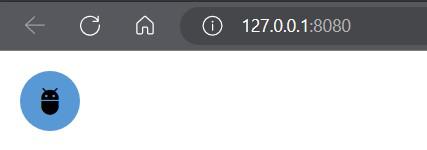
NiceGUI provides the ui.avatar() component to display circular or square avatars in a web application. An avatar can contain a Material icon, an image from a local file, or an image from a URL, making it useful for representing users, profiles, or application features.
from nicegui import ui

ui.avatar("adb")

ui.run()
Output
By default, we can see that the avatar color is black and the background is blue and the structure is a circle. We can change all of them according to our needs.
Explanation:
- ui.avatar() creates an avatar component.
- "adb" specifies the Material icon displayed inside the avatar.
- By default, the avatar is circular with the default theme colors.
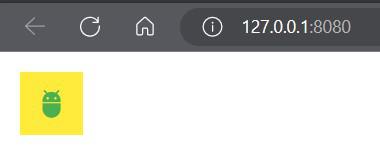
Changing color, background color, size, structure, and shape of the Avatar
from nicegui import ui


ui.avatar('adb',text_color='green', square=True,color='yellow',size="50px")

ui.run()
Output
Adding Hyperlink
NiceGUI provides the ui.link() component to create clickable hyperlinks that navigate users to web pages or other resources. A hyperlink displays clickable text and redirects the user to the specified URL when selected.
from nicegui import ui

ui.link("The best Computer Science Portal","https://www.geeksforgeeks.org/")

ui.run()
Output

Explanation:
- ui.link() creates a clickable hyperlink.
- The first argument specifies the text displayed to the user.
- The second argument specifies the destination URL.
- Clicking the hyperlink opens the specified web page in the browser.
Note: The target parameter can reference an external website or an internal route within a NiceGUI application.