Use the Media Library to manage your site’s images, audio, videos, and documents all in one place. This guide will explain how to view and modify the media files on your website.
All the images, documents, videos, and audio you have uploaded to your site are stored in the media library. To access the media library, follow these steps:
- Log into your site’s dashboard.
- Navigate to Media.
In Media, you can add new media, view your site’s available storage space, or search for media you’ve already uploaded.
Any files you add to pages and posts using the WordPress editor will appear in Media. You can add media files in the WordPress editor using the Image block, Gallery block, VideoPress block, Audio block, and more. View the full list of media blocks.
You can also upload images and other media directly to your media library, either from your computer or from the URL of a media file.
To upload media files directly from your computer or device, follow these steps:
- Visit your site’s dashboard.
- Select Media in the menu on the left.
- Click the “Add Media File” button to reveal the file uploader.

- Click the “Select Files” button to open your computer or device’s files.

- Select the media files you want to upload.
- You can hold down CTRL on Windows or CMD on Mac to select multiple files.
- See this page for supported file types.
- After choosing your media file(s), click the Upload or Open button to add the file(s) to your media library.
Add files to your site’s media from the web by uploading the file via the URL where the media exists by following these steps:
- Visit your site’s dashboard.
- Select Media in the menu on the left.
- Click the “Add New Media File” button to reveal the file uploader.
- Click on the “Upload from URL” link.

- Enter the URL (address) of the media file you want to upload.
- Click the Upload button to add the media to your media library.
This section applies to sites created with the AI website builder that have a Premium or Business plan.
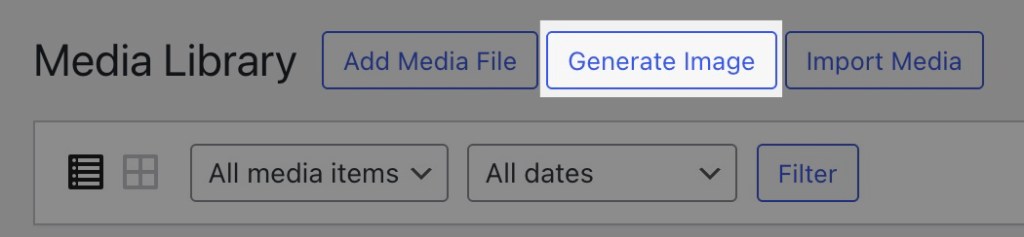
You can generate images with AI from within the media library. This feature is currently in beta and may change.
- Visit the dashboard of a site built with the AI website builder.
- Click on Media in the sidebar.
- Click the “Generate Image” button at the top of the screen:
- In the AI prompt box, describe the image you wish to create, then click Enter/Return on your keyboard.
- Wait a few moments for the image to generate.
- You can continue adding prompts in the prompt box to edit the image.
- Click the Save button to save the image to your Media Library for use on your site.
After generating an image with AI, you can click on it in your media library and select from the following options:
- Continue adding prompts in the prompt box to edit your image.
- Select: Mark specific parts of the image for refined edits.
- Image info: Edit the title, caption, description, and alt text of the image.
Find and edit files in your Media Library
In this guide, you’ll learn how to find files, edit images, update media details, and view file information.
Delete media files
Learn how to delete media files from your Media Library in this guide.
Manage file links and URLs
This guide explains how file URLs are structured and how to find them.
Export your media library
In this guide, learn how to download a copy of your site’s media library.
Find free images and media for your website
Learn about your options for free media that you can use on your site in this guide.
Troubleshooting blurry images
Find out why images could appear blurry on your site even though the original photo uploaded is of good quality.
Troubleshooting image and other file uploads
If you experience problems uploading images, videos, and other files to your website, this guide will help you learn some common causes and how to solve them.
Optimize your images
Optimization refers to the process of making files load quickly by decreasing their file size, while retaining the quality of the image.
