
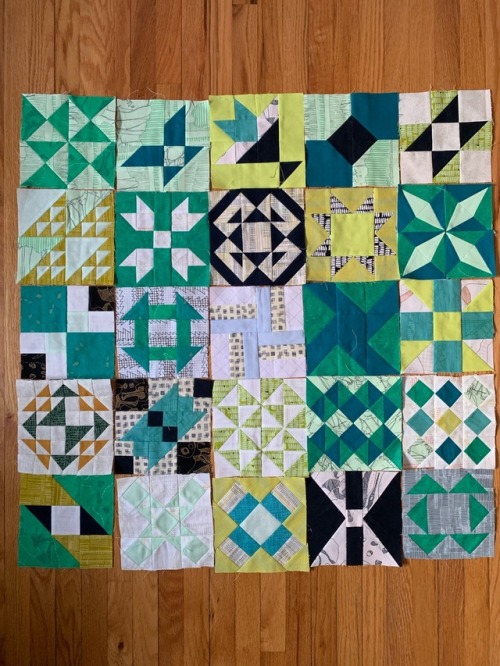
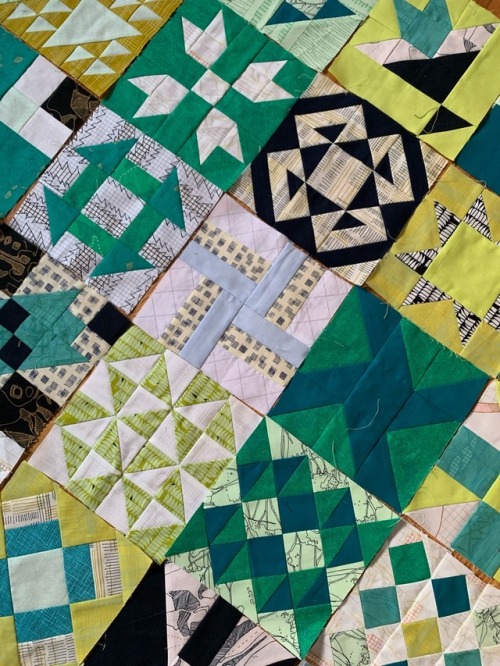
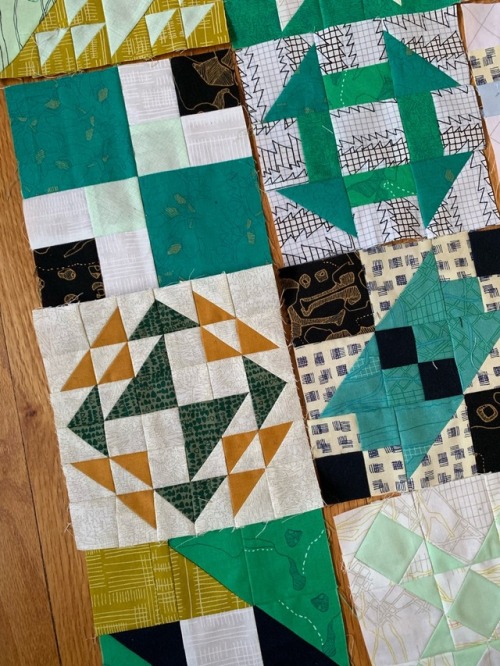


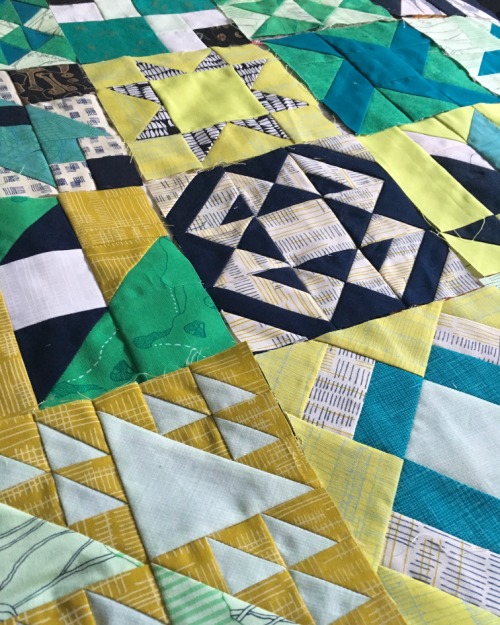
Farmer’s Wife quilt: A project that I’ve been working on for a while is the Farmer’s Wife quilt, from the book by Laurie Aaron Hird - which I started back in April 2017 at a workshop with Johanna Masko hosted by the Ottawa Modern Quilt Guild. I just finished my 25th block last week, which was a milestone. But, the book has 110 blocks so I still have a long way to go! I hadn’t laid the blocks out in a while, I’m liking how the colours are coming together. I’m just using Kona cotton and Carolyn Friedlander prints for this one.
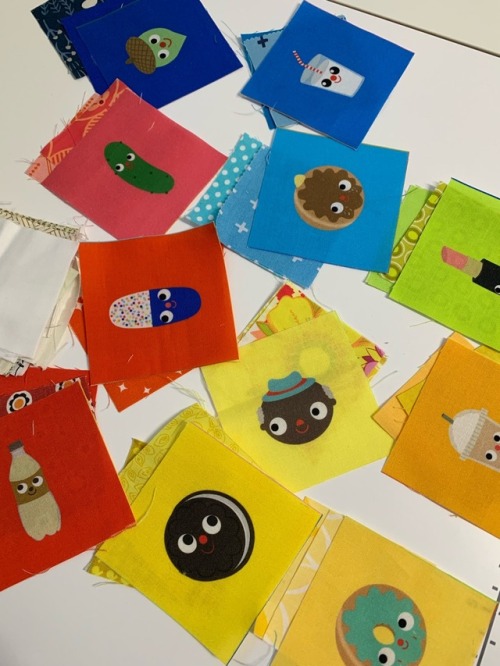


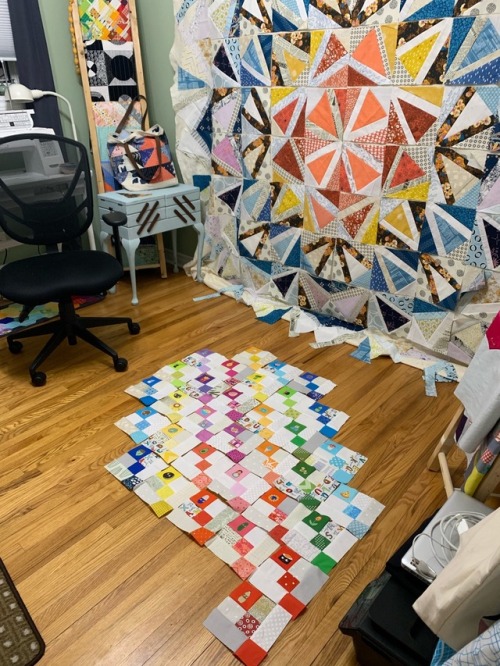
Friendly Faces project: I’ve been having fun the last few weeks working on a project using Heidi Kenney’s “Friendly Faces” fabric panel.
I cut up the panel to blocks and I’m mixing in scraps to make these Irish-chain-inspired blocks. I intentionally designed the block to use 2.5” squares and strips — because I pre-cut my scraps to standard sizes (2.5” squares and strips) and have boxes full of them! So, this one has minimal cutting needed! I’ll just keep going, if I use the entire panel, this could make a twin-sized quilt!
PS - Happy New Year! I haven’t been around in the blog for a while, but I’ve got some posts I’m drafting to get caught up. It’s just around my 5-year anniversary of blogging this month! 💖
Hourglass quilt - Finished!
I was really happy to finish the hourglass quilt that I’ve been working on since sometime in fall 2016. It’s one of only a few really big, queen-sized quilts that I’ve made.
I finished it up with faced binding, because I didn’t want to have the visual of the binding / border look around the edges. I like how it turned out and how the blocks just meet the end of the quilt. I’ve only done faced bindings on mini or small quilts before, but I think I might do it more often for larger quilts, too.
The last step for this one is to throw it in the wash, then on a bed! I had originally wanted to use it for our bed but this one may end up going to my parents’ house.
Quilty details:
- Approximately 95 x 97″ finished size
- Made of 64 rectangular “blocks” which each include 1 large hourglass block, 3 small hourglass blocks, and 1 strip
- Quilt top used 256 hourglass blocks and 96 strips of fabric in a mixture of Kona Cotton, Riley Blake Confetti Cottons and RJR Cotton Supreme Solids fabrics
- Long arm quilted myself (rented time from Kirstin on her Handiquilter, here in Ottawa)
- Faced binding to finish.
Linking up with Finish it up Friday.
* * *
For more on this project, here are some related posts:
- Longarm quilting hourglass project
- Finished quilt top
- Hourglass overload (project layout)
- Hourglass project progress (making rectangular blocks)
- Hourglass blocks (getting started on this project)
- Tutorial: Hourglass block
My quilt in the“Modern Quilts” book
Today is my stop on the blog tour for the Modern Quilt Guild’s new “Modern Quilts: Designs of the New Century” book!
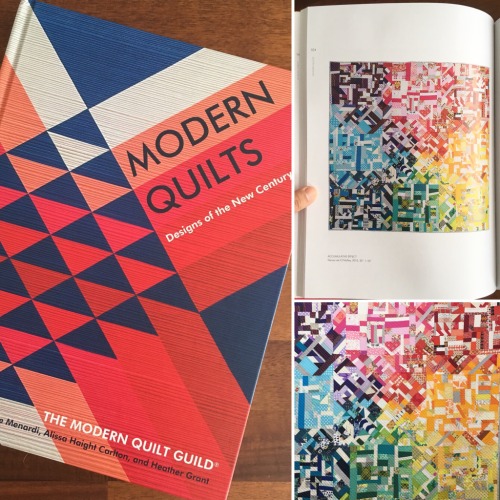
I am so honoured to have my quilt “Accumulative Effect” featured in the book. I got it in hand a few weeks ago - and it’s such a beautiful book, full of inspiring and gorgeous quilts! It’s a little bit like a book version of Quiltcon! (and looks great on my coffee table, too :) )

I thought today I’d share a little more about the story behind my quilt that’s featured in the book!
A few years ago, I started to make improvised blocks made of scraps as a sort of meditation. It was during a time in my life that had a lot of uncertainty – we had decided to move to Ottawa from Edmonton (approximately 3,500km / 2,175m away). Sewing little pieces together helped to keep my hands busy while taking my mind off of the stress of moving and logistics and job worries and everything else. I wasn’t initially thinking about what I would do with them - it was purely a creative escape.
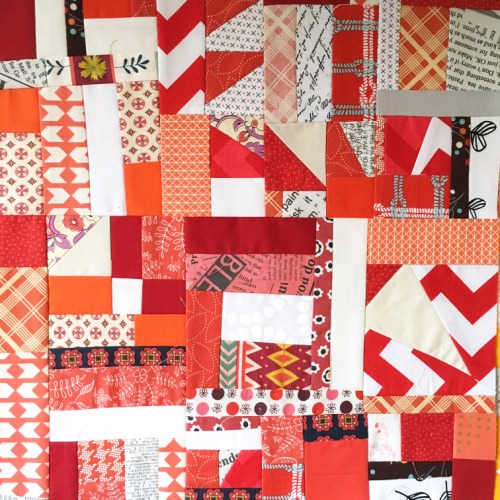
I mixed in white and low volume scraps with each colour, because I had so many white scraps. I decided to make a large improv block in each colour, with the panels all measuring about 12"x14.“ I packed away the panels that I started in Edmonton and moved them with me to Ottawa.
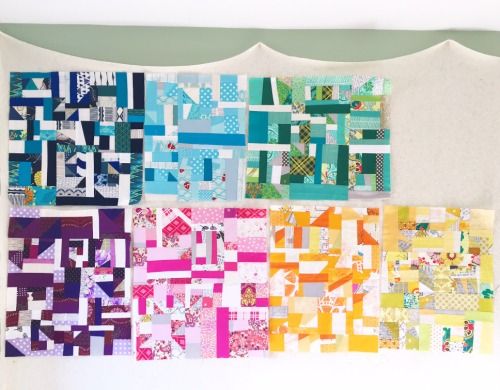
As I unpacked and made more blocks, I decided I wanted to piece them together at some point in the future, and to blend the colours together somehow. I started to think about calling this quilt "Transitions” as a kind of visual representation of the challenge of moving from one place to another (i.e., Toronto, to Edmonton, to Ottawa), and the emotional side of transition – as the colours moved into one another.
I knew I wanted the end look to be a little random and not look like traditional block-based piecing. I thought a lot about how I would place the transitional bits, but it was only after I started piecing the centre panel that I realized that the best thing would be to make the transition sections “on point.”
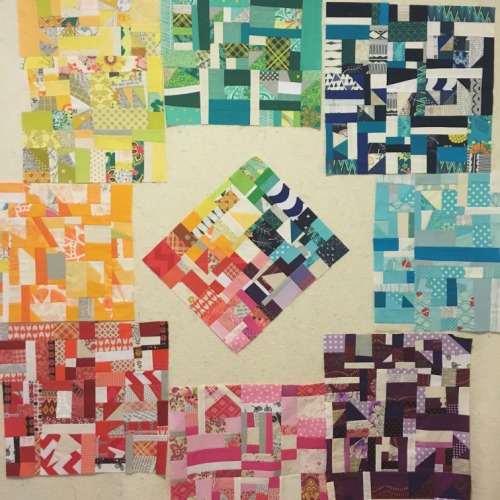
I was really pleased with how putting the transitional panels on point that It gave it a little more movement. (I took these photos during the process, to help me with positioning of the blocks).

I finished up piecing it together, and basted with pins.

I quilted it up with straight lines, because the piecing was so busy!
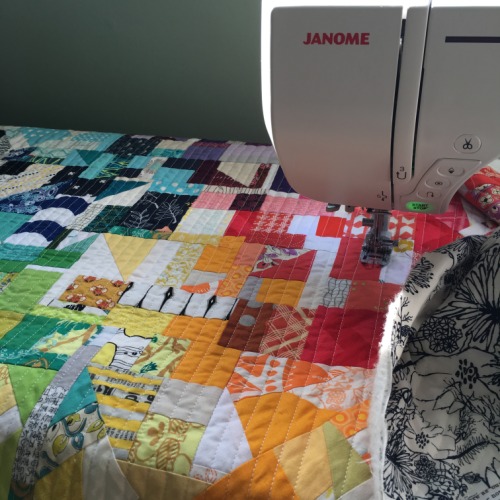
I don’t know how many pieces there are in the quilt, but it’s a lot (!) … and it includes bits of the first 25 quilts that I made up to that point.

I know which project each little piece is from, which is such a nice way to remember all the things that I’ve worked on over the years!
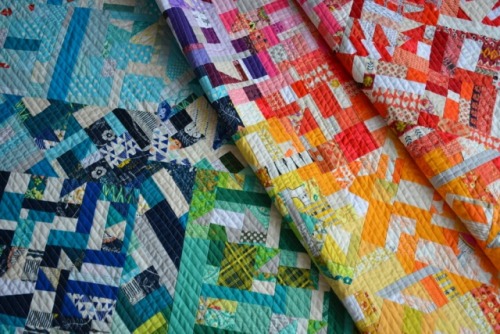
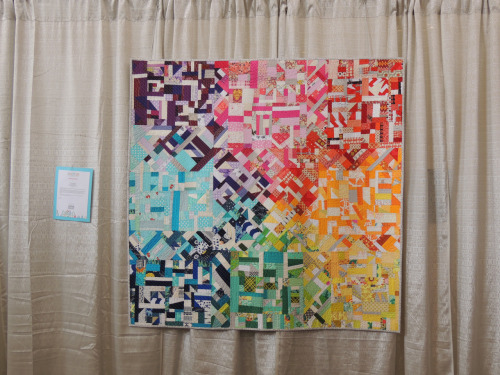
In the end, I settled on calling the quilt “Accumulative Effect.” It’s a play on a term used in biology and environmental science (which is my work and academic background) - “cumulative effects” - which basically means that the whole is greater than the sum of its parts. I turned it to “accumulative” – to refer to the accumulation of scraps over time!
I was so thrilled when it got into Quiltcon for the 2016 show in Pasadena. And, am even more thrilled and humbled that it’s now in the beautiful Modern Quilts book.
Thank you so much for stopping by to visit! I hope you’ll continue on to the next stop on the Modern Quilts blog tour with Kim Soper (Leland Ave Studios) tomorrow, and check out the full list of participating blogs at my previous post here! It’s been so fun to follow along and see all of the interesting stories and quilters behind so many of the quilts I’ve admired at Quiltcon and on social media over the last few years.
And for your own copy of this beautiful book, check out Modern Quilts: Designs of the New Century over at the Modern Quilt Guild!
* * *
If you want to go wayyy back and see some of the original posts about this quilt and the pieces that made it, here is the history:
- - First scrappy blocks
- - More scrappy blocks
- - Even more scrappy blocks
- - Putting things together
- - Finished top
- - Accumulative Effect (finished quilt)
- - Using fabric scraps (about my scrap organization)
2017 Year in Review

It’s a little late, but Happy New Year! I felt like I should post a “year in review” before getting started with 2018 posts! So here goes:
Last year, my overall goal was to “Do less and relax more!” I started off this year feeling quite burnt out. In 2016, I did a lot of quilt-related work - but I also started a new job, got a new puppy, and was getting used to a new life in Ottawa, and pushed myself a little too hard. So in 2017, I wanted to give myself the permission to do less and to get back to sewing just completely for fun and as an outlet (instead of as a kind of side job).
So, how did I do?
Finished projects: I finished 6 quilts this year. Four were small quilts (baby quilts and mini quilts). I really enjoyed making mini quilts as a way to try new techniques, like hand quilting and faced binding.
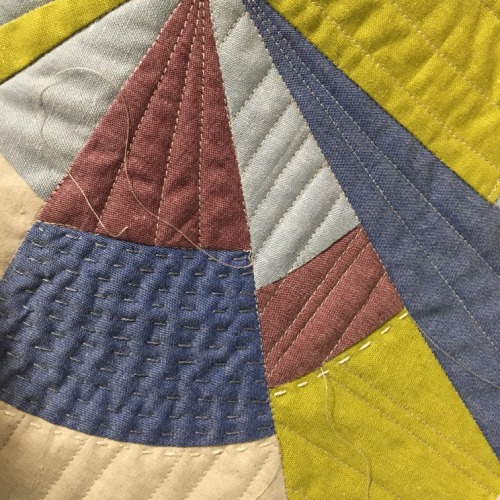
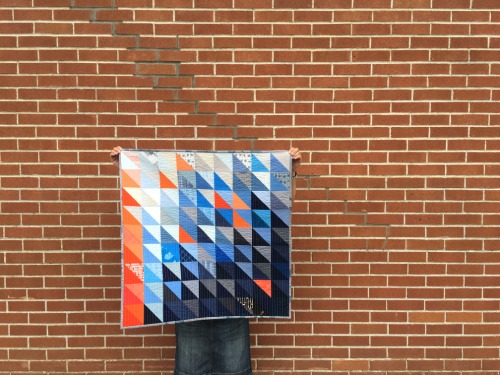
It’s also gratifying to use up scraps and finish some small projects, like the HST baby quilt I made in the summer.
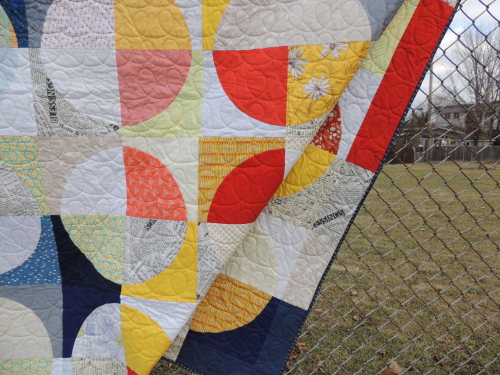
I finished one queen sized Polarity quilt (below) and one twin sized, the Art Deco sampler.
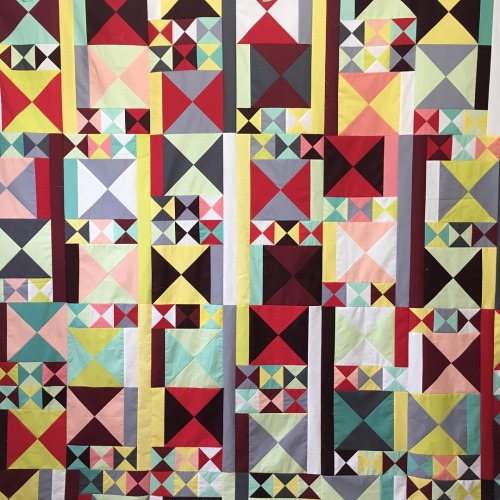
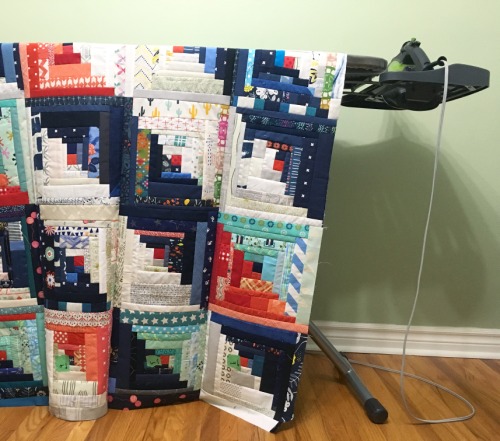
I also completed some quilt tops that need some quilting: the hourglass quilt top which is pretty huge, and the scrappy log cabins.
My work was also featured in some shows and publications, including:
- “Paper Cut No. 1″ was at QuiltCon 2017 in Savannah, Georgia in February 2017
- I made a mini quilt for Christopher Thompson’s fabric line “Blue Carolina” featured at spring Quilt Market
- “Cumulative Effect” was in the National Juried Show, Quilt Canada, in Toronto in June 2017
- The Art Deco Sampler was in Love Patchwork and Quilting, Issue 53 in June 2017
- I was the Guest Designer, International Association of Quilters in August 2017
- I was the Feature Artist at the Sackets Harbor Quilt Show, Sackets Harbor NY, October 2017
- “Accumulative Effect” was featured in the book Modern Quilts: Designs for the New Century, December 2017


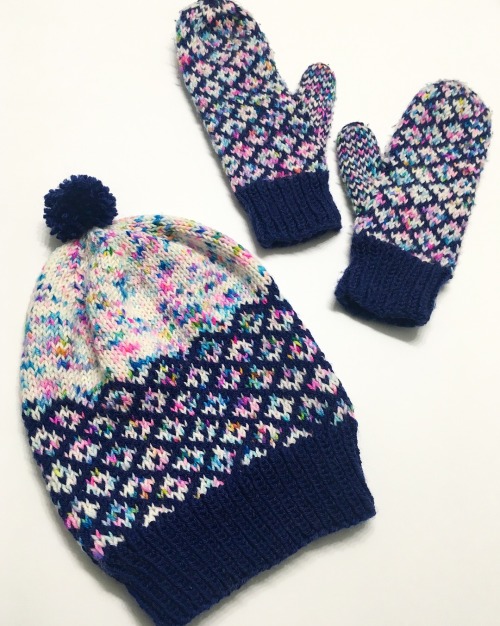
As part of relaxing, I picked up a new hobby: knitting! I started with a dog sweater back in February, and just kept going. I’m loving using the hat and mittens I made. I’ve learned a lot of new techniques and I’m excited to keep learning.
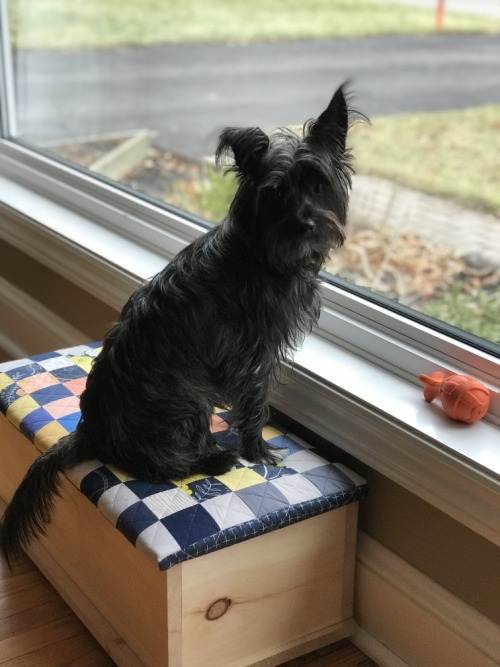
I also worked on some collaborative projects, like the patchwork bench for Ollie with my hubby.
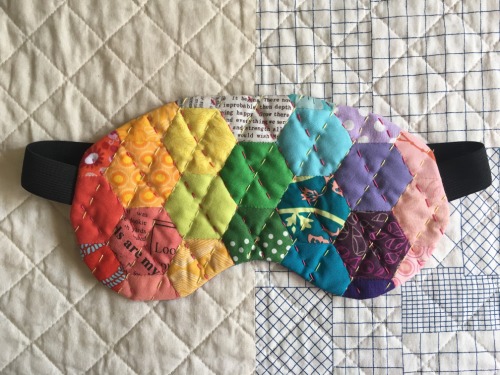
I finished some small projects like my favourite sleep mask, too.
Another thing that was important to me this year was sewing with friends. I have friends locally that I was able to sew with this year, and work on some projects together (like my Farmers’ Wife quilt, below).
Now, at the outset of 2018, I feel really excited to jump into finishing projects and working on new ones. I definitely feel like I gave myself some room last year to experiment and have fun with projects, and I want to make sure I do this year, too.
I think for this year, I’d like to focus on:
- finishing up projects - especially those that are pieced and need to be quilted; and,
- using fabrics that I have on hand, rather than buying new, as much as possible.
I also want to submit quilts to a couple of shows, and maybe submit a pattern for a magazine - we will see!
I hope you are having a great start to 2018 and best of luck with all of your goals, too!
Blue Christmas stockings
This year, a friend asked if I would make some stockings for her and her family.
She had seen some of the stockings I’ve made in the past (including these patchwork stockings from a few years ago), and wanted similar stockings in her preferred colours.
She found some charm squares (5″ squares of fabric) in colours that she liked - navy blues, royal blues, cream and gold. I wanted to do patchwork for the fronts, so I pulled some additional fabrics from my stash to round out the palette. I pieced simple 2.5″ squares together to fit my hand-drawn template (that I drew up the last time I made stockings.)

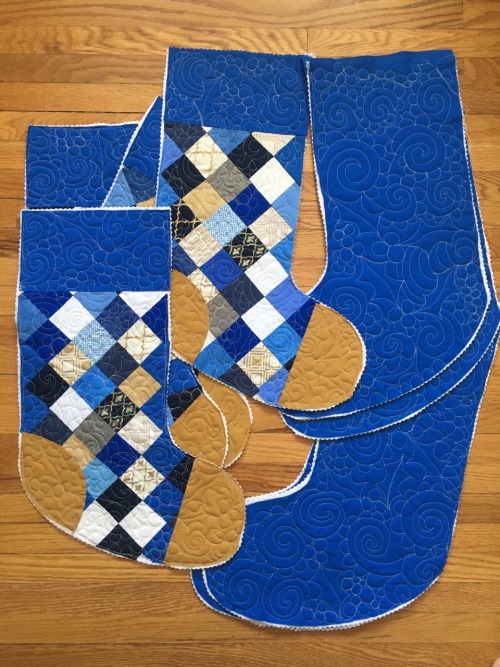
I added a longer top this time around, then I basted them individually to quilt up the stocking fronts.

For each piece, I practiced my free motion quilting, adding holly and swirls in the design.

I also made stocking backs and quilted them individually, too. I used a plain blue for the back (in a Kona cotton). It was actually pretty fun (and has inspired me a bit to want to do more free motion quilting soon!)

Here are all of the pieces finished! It was not a quick process, but I was happy with the results.
I sewed the fronts and backs together, then prepared the cuffs to add on the top. I used the same crushed velvet fabrics that I had used for stockings previously - I think it gives a nice luxe kind of finish!


I finished the stockings up last weekend, just in time to get them shipped off to my friend for Christmas!
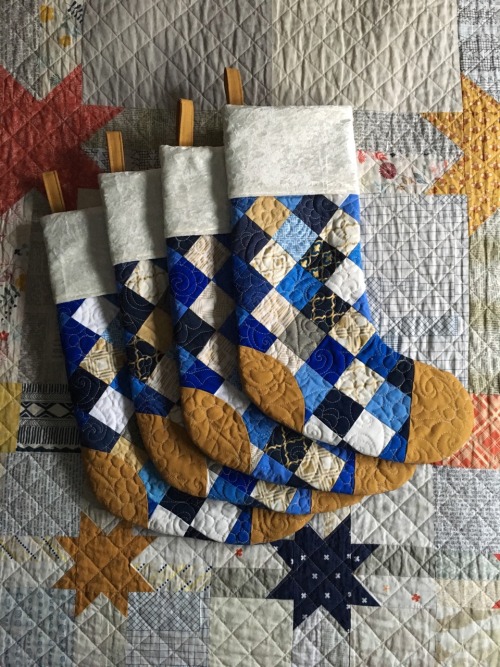
I’m happy with how they turned out and I hope she and her family can enjoy them for years to come.
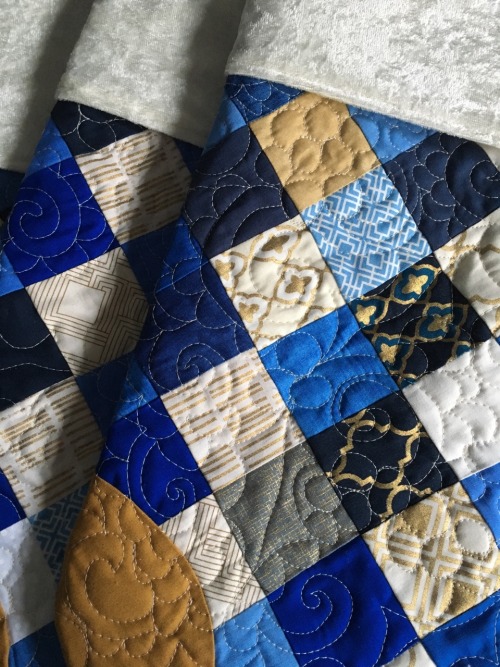
Happy Holidays everyone!
Ollie’s window seat
A few weeks back I shared about the patchwork top for the bench I was making with my husband for our dog, Ollie. It is now done!
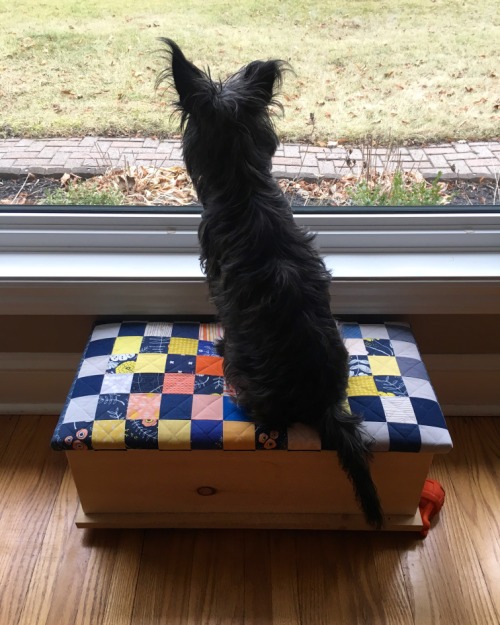
Here’s a few progress pictures along the way! After completing the patchwork and quilting, I upholstered the box top with proper upholstery batting and lots of staples. You kind of have to “baste” it first then adjust as you stretch out the fabric a little bit over the batting.
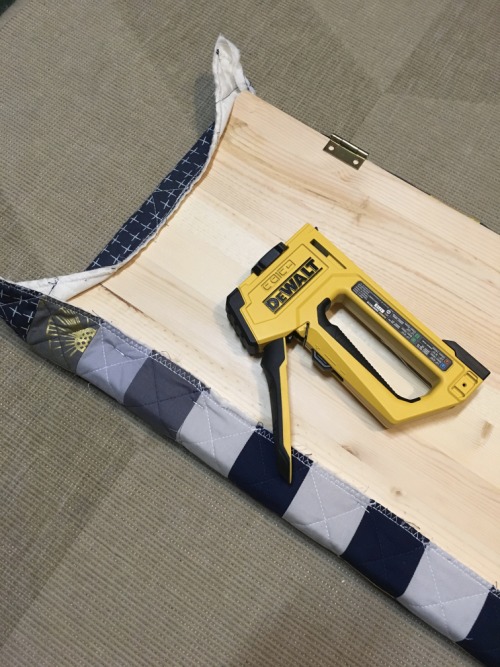
After getting it secured, I added an interior to hide the raw edges from showing.
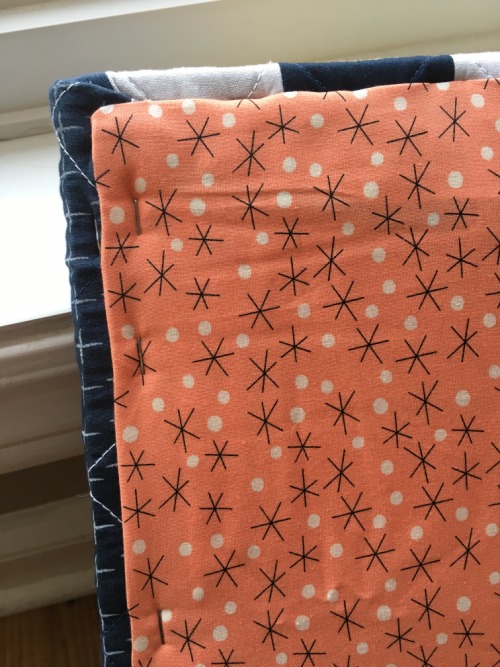
It looks nice now when you open up the top!

I’m so happy with the results. I think the quilting adds a nice touch and I was pleased that it was as easy to use in upholstery as it was. (Now, I’m thinking about my dining room chairs..!) I may paint or stain the box in the future, but for now it’s fine as it is.
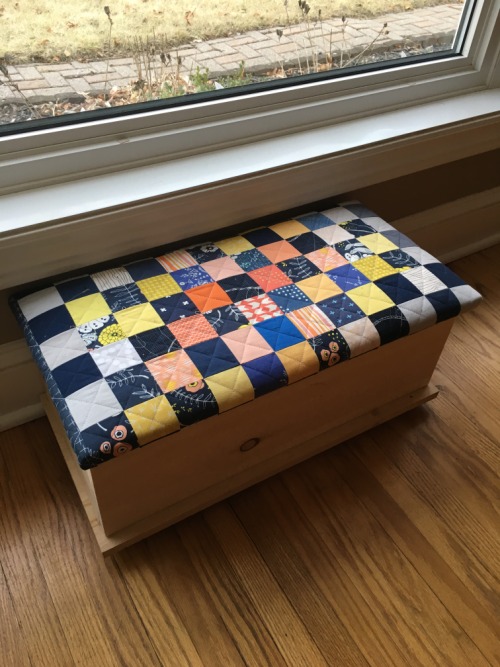
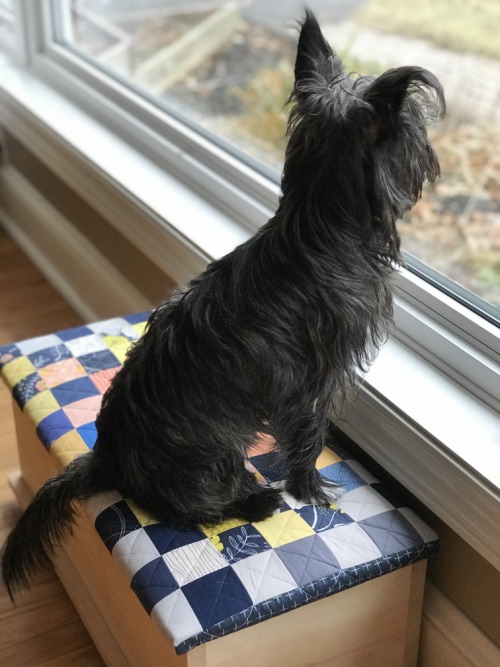
Ollie has been sitting on it while he monitors all the squirrels, birds and people through the window - just as intended!
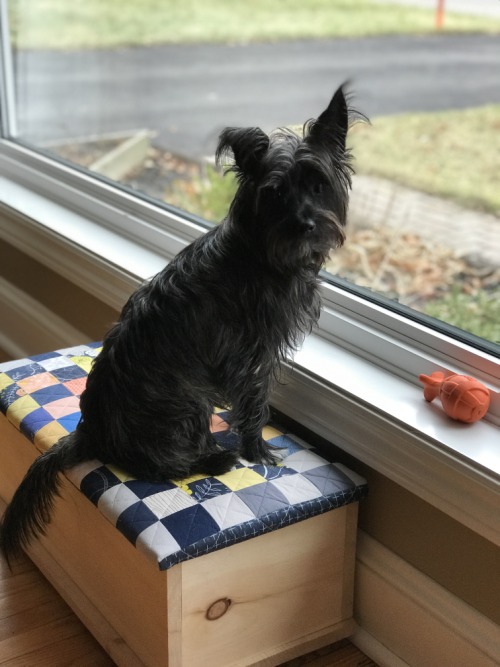
So happy to have this project done and to have a little more patchwork and colour in our home!
Scrappy Log Cabins
Last weekend, I finished up a scrappy, improv log cabin quilt top!
After finishing up 36 blocks, I squared them up to 11 inches. I hadn’t trimmed or even measured any of them, but most of them were very close to the same size (which was very strange to me!) somewhere between 11 and 11.5 inches. I had to add a couple additional strips on some and trim some down until they were all even.


I played around with some layouts, but got sewing pretty quickly. I didn’t want to overthink the layout as I wanted it to be relatively random, with the teal and red parts distributed around the quilt.
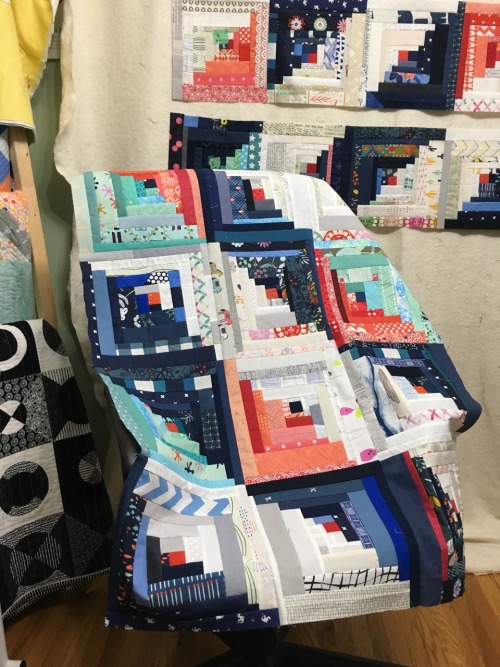
It’s made from all scraps – no yardage or fat quarters were harmed in the creation of this quilt! It’s amazing how many scraps this used up, too - I would say the status of my scrap bin is quite depleted of navy and white, but that is okay by me! To me, there is nothing more satisfying in quilting than using up my scraps.

Here is the final quilt top!

I actually have surprised myself in how quickly I put this one together (I started it about two months ago, back in October, and it includes a lot of piecing)… It wasn’t a project that I had even planned to do! It was just me having fun with my scrap bin and sewing machine, which was great. I hope I can do more projects like this next year, too.
Linking up with Finish it up Friday.
* * *
Previous posts about this project:
- More scrappy log cabins (at 30 blocks)
- Log cabin layouts (at 16 blocks)
- Scrappy log cabin blocks (getting started)