Newsletter

Showing posts with label winter woods. Show all posts

Sunday, 1 December 2024

Double Post today!


Firstly, it is time for our December challenge over at
where the theme is anything goes option Winter.

We have some lovely prizes up for grabs so be sure and join us!!

For my card I have gone with an AALL & Create stamp called
brum brum. I built up the background using the tree from the car
and the stars from the same stamp set.
It has all been coloured using my markers and the background
has been inked and dotted with snow.
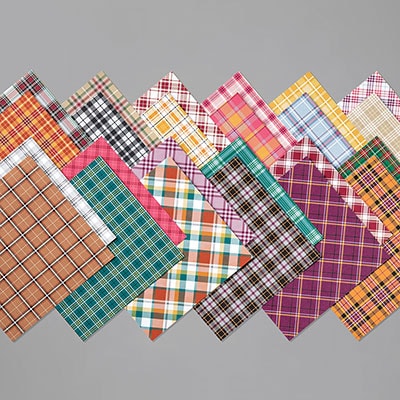
The background papers are from a set called Winter Meadows (SU).


As you can see I have gone mad with the glamour dust!!


And I even finished off the inside!

I would like to enter this into

****************************************************************

So for my second post!
I was invited to join the lovely ladies over at
and my resistance was just too low to say no!!
I will be beating myself up though as I can no longer have
a chance of winning the fabulous prizes each month!!

But anyway, the challenge theme for December is also Winter
so you now have two challenges to enter your cards!!

At We Love Stamping the December prizes are amazing too
so be sure and enter!!


So for my card I have gone with a winter tree scene.
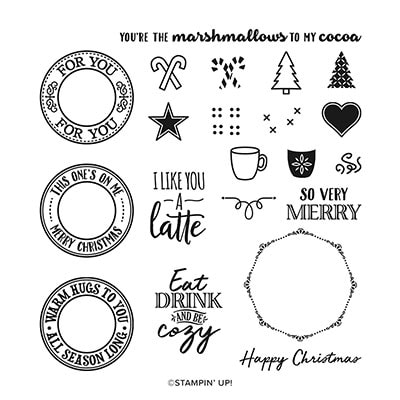
I used an old stamp set called Winter Woods (SU) which I love
playing with. The inks I used are shaded spruce and tahitian tide.
I stamped the trees first then went over them with a stencil
called Snowfall from Polkadoodles using my embossing paste.
When dry, I wrapped it with some twine, added two die cut snowflakes
and finished with a little bow in the centre of them.
I then stamped the sentiment and cut and stuck in place.

I look forward to seeing your wonderful makes this month!

I would like to enter this into

Monday, 7 December 2020

Decorated Envelopes using Snowman Season


Happy Monday!

I got an urgent request for 24 decorated envelopes
suitable for money gifts,
from a customer and this is what I came up with.
I used kraft envelopes that I luckily had in my stash.

One was decorated with winter woods stamp set,
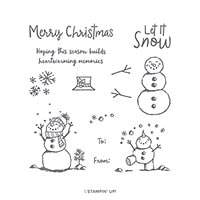
the second two using Snowman Season stamp set.

The snowmen were coloured using the whisper white ink 
Took a bit of time for the snowmen but the trees
were so quick they make up for it!
I cut up some labels, rounded the corners
and stamped the Happiest Christmas Wishes 

All has been received by a happy customer.
Job done!


Sunday, 6 December 2020

Things with Wings Winter Scene


Our final challenge of the year at
is
ANYTHING WITH WINGS!

This month we are sponsored by
with this lovely prize!

So hoke out your fairies, birds, aeroplanes, bees, butterflies etc
and come and join the challenge.

For my card I have used a Crafter's Companion stamp
for the fairy.
The background was made using
The colours I used are
I added lots of wink of stella to my fairy
and a tiny bit of brights papers behind the scene.

I would like to enter this into

Hope you get time to join us this month.

Friday, 4 December 2020

Winter Woods Batch Cardmaking


I was a bit short of Christmas cards so
had to have a go at some quick and easy ones that I
could batch make and that would post flat!

I spent an absolutely fortune at the post office!!
When did second class stamps get so flippin' expensive!

Anyway, rant over 😂
I used winter woods stamp set for the trees
and stamped them in memento
 over my inked up sky using pacific point ink pad.
I add some Frost White paint along the edge and
flicked some over the sky.

I had initially masked off the area, top and bottom,
 to get a nice clean design.
The sentiment is from Itty Bitty Christmas stamp set.
I made the mask so I could slip my cards inside it easily
to allow me to repeat the process quickly.
I have a video in my VIP Group showing how I did it.
Was pretty pleased to get half a dozen done in no time.

I would like to enter this into
 
It is extremely wet and windy outside today
but I have loads of  crafty orders to get sorted
so I will be kept warm and busy!
Have a great weekend everyone!

Friday, 20 November 2020

Fun fold Friday


My tutorial today is yet another first for me.
I have been cardmaking  for about  27 years now
but my cards were always commissions so I rarely
got time to actually play about with different folds and techniques.

This one is called a
Free Standing Pop Up Card!


There is room on the back for a nice verse.


And it folds flat for posting!!
(Without the peg of course lol)

This is really quick and easy and can be adapted to any size you want.

I made a birthday version on my first go but totally
forgot to keep the decoration flat...doh!
It obviously needs to be flat so it can slide to flat position.

But I will be handing this over rather than posting so
I won't tell anyone if you won't!!😂

Bit of a crooked angle lol but the weather is shocking
this weekend and indoor photos are not my forte!

Measurements I used to make these cards
Card - 4 1/4" x 11"
Score - 1", 2 3/4", 3 3/4", 5 1/2", 7 1/4", 8 1/4", 10"
Centre Card - 2 3/4" x 5 1/2"
White card for decorating - 2 1/2" x 5 1/4"
Paper for decorating
four pieces - 4" x 1 1/2"
two pieces - 4" x 3/4"
Circle punches for front.

I would like to enter the Snowman card into
Have a great weekend.

Tuesday, 6 October 2020

Trees at Tag Tuesday


It's my turn to choose the theme over at
and I have gone with
TREES.

Who doesn't like trees??
I really enjoy making scenes with my tree stamps
and this one is a Christmas themed one
using Winter Trees and adding some
white paint for the scattering of snow.
I stamped it all onto crumb cake card stock
for that Kraft, vintage look.

I would like to enter this into

First appointment today, quick and easy.
It was for my breast screening.
Very well organised, good social distancing and plenty
of hand sanitizing.
I was in and out in 6 minutes!


Those leaving a comment on any post on this blog do so in the knowledge that their name and blog link are visible to all who visit this blog.
I personally, do not use any of your information.


Friday, 25 September 2020

Block Card for Christmas


My Funfold this week is a
Block Card.
I have never tried one before but seen lots of them about.
So here is the small version that you will find many
tutorials for on YouTube.
For this version you do need 12" x 12" card.

I have made a bigger version in my VIP Video
where you can use a4 card.

I would like to enter this into

It has been lashing here all morning,
really heavy down pours and very cool temperatures.
Hello Autumn!!


Product List

Friday, 28 August 2020

Funfold Friday


My VIP Video shows how to make your own
centre step card with a few simple cuts and folds,
allowing you to make the size you want rather than being tied to a die size.

This is how I decorated the inside.

I have a video for you to watch if you want to have a go.


Measurements needed to follow along with video
Card - 11 1/2" x 6"
Short side
Line up at 1" and cut from 1 1/4" to 7"
Flip card and repeat above.
Long side
Score - 1 1/4", 2 1/2", 7" up to cut.
Flip and repeat.
Finally score at 5 3/4" between the two cuts
to form the centre fold.

I would like to enter this into

WELCOME TO MY NEWEST FOLLOWER
CHRISTINE KIEHL!
Thanks so much for following my blog.


Stay safe out there everyone
and thanks for all your lovely comments.
I will catch up on commenting tonight.


Product List


Those leaving a comment on any post on this blog do so in the knowledge that their name and blog link are visible to all who visit this blog.

I personally, do not use any of your information.


Related Posts Plugin for WordPress, Blogger...