Newsletter

Showing posts with label corrugated folder. Show all posts

Monday, 22 April 2019

Embossed Thank You card


Happy Monday!
I hope you all had a lovely Easter Sunday and got lots of chocolate!!
I'm starting my week off with a nice fresh card with two lovely embossing folders.
The ribbon is a broad ribbon so I split it down the centre to get a narrow effect.
All details on how I made this card and items I used can be found below.
Thanks for dropping by.

How I made this card
1. Make a card base measuring 4 1/8" x 5 1/2"
and emboss the front of your base using corrugated embossing folder.
2. Cut piece of powder pink card 3 6/8" x 4 5/8" and round the corners.
3. Cut piece of whisper white 3 5/8" x 4 1/2" and round corners.
Emboss this piece using the Lovely Floral embossing folder.
4. Adhere to rounded pink card.
5. Cut length of powder pink ribbon and split down middle
(if you have a narrow ribbon use that instead)
TIP: any fraying bits of ribbon, just pull away so no threads hanging.
Adhere to card using tear and tape.
6. Make a small bow from cut away length and adhere to centre of ribbon.
7. Stamp sentiment using powder pink ink onto piece of whisper white
measuring 2" x 1" and round corners.
8. Punch a piece of powder pink card using classic label punch.
Cut this piece in half and adhere to back of sentiment
as seen in card above.
9. Stick sentiment in place using dimensionals.


I would like to enter this into:
Jo's Scrap Shack - anything goes
Lil Patch of Crafty friends - anything goes
Creative  Craft Cottage - no patterned paper #3
Get Creative - anything goes
Pammie's Inky Pinkies - anything goes

Product List
Keep blog land alive by commenting and following blogs.
I am on the lookout for new bloggers, so follow me or leave a comment
and I will come check you out!
 Thanks for dropping by today.


Those leaving a comment on any post on this blog do so in the knowledge that their name and blog link are visible to all who visit this blog.
I personally, do not use any of your information.


Wednesday, 31 October 2018

Snowman tag


I've been neglecting my tag making so I'm here to make it right!
I wanted to see if I could make a rosette for my tag using the corrugated texture embossing folder
and I'm pretty happy with the results!
It has a good covering of wink of stella and then I stamped, coloured and cut out
the cute wee snowman!


He really does sparkle and will make a perfect tag for one of my Grandsons.

How I made it:

1. I cut a 2" x 5" piece of old olive card and punch the tag top
2. I added a piece of Under the Mistletoe dsp
2. Using the embossing folder I ran a 1" x 8" piece of whisper white card through.
3. I joined the edges to form the rosette using wet glue and adhered to a circle of card to hold.
4. I added some wink of stella and adhered to tag.
5. I stamped the snowman, coloured with watercolour pencils and added wink of stella.
6. He was cut out and added to the rosette using dimensionals.
7. I stamped the sentiment, cut to separate the words and adhered top and bottom of tag.
8. It was finished with a piece of poppy parade ribbon.

I would like to enter this into:

Keep blog land alive by commenting and following blogs.
I am on the lookout for new bloggers, so follow me or leave a comment
and I will come check you out!
 Thanks for dropping by today.



Enjoy £130 worth of craft goodies of your choice for £99


Product List
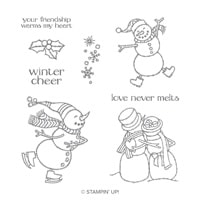
Spirited Snowmen Clear-Mount Stamp Set
£18.00
Corrugated Dynamic Textured Impressions Embossing Folder
£9.25
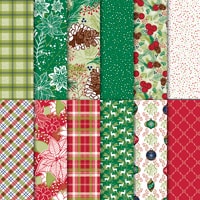
Under The Mistletoe Designer Series Paper
£10.25
Whisper White A4 Card Stock
£9.00
Old Olive A4 Card Stock
£8.00
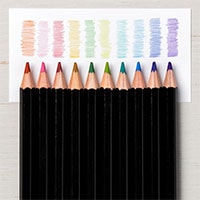
Watercolor Pencils Assortment 2
£11.75
Blender Pens
£11.25
Real Red Classic Stampin' Pad
£7.00
Poppy Parade 1/2" (1.3 Cm) Textured Weave Ribbon
£7.00
Clear Wink Of Stella Glitter Brush
£7.50
Tag Topper Scalloped Punch
£22.00
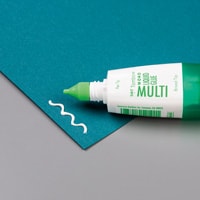
Liquid Multipurpose Glue
£3.75
Stampin' Dimensionals
£3.75
Related Posts Plugin for WordPress, Blogger...