Stack
A Stack is a layout element that comes preconfigured to produce stacked, offset compositions out of the box.
Unlike a regular Div Block – where you’d set up a grid from scratch – a Stack ships with a preset grid structure and predefined grid areas already in place, so you can layer content with depth and visual rhythm without any manual grid work.
Add a Stack
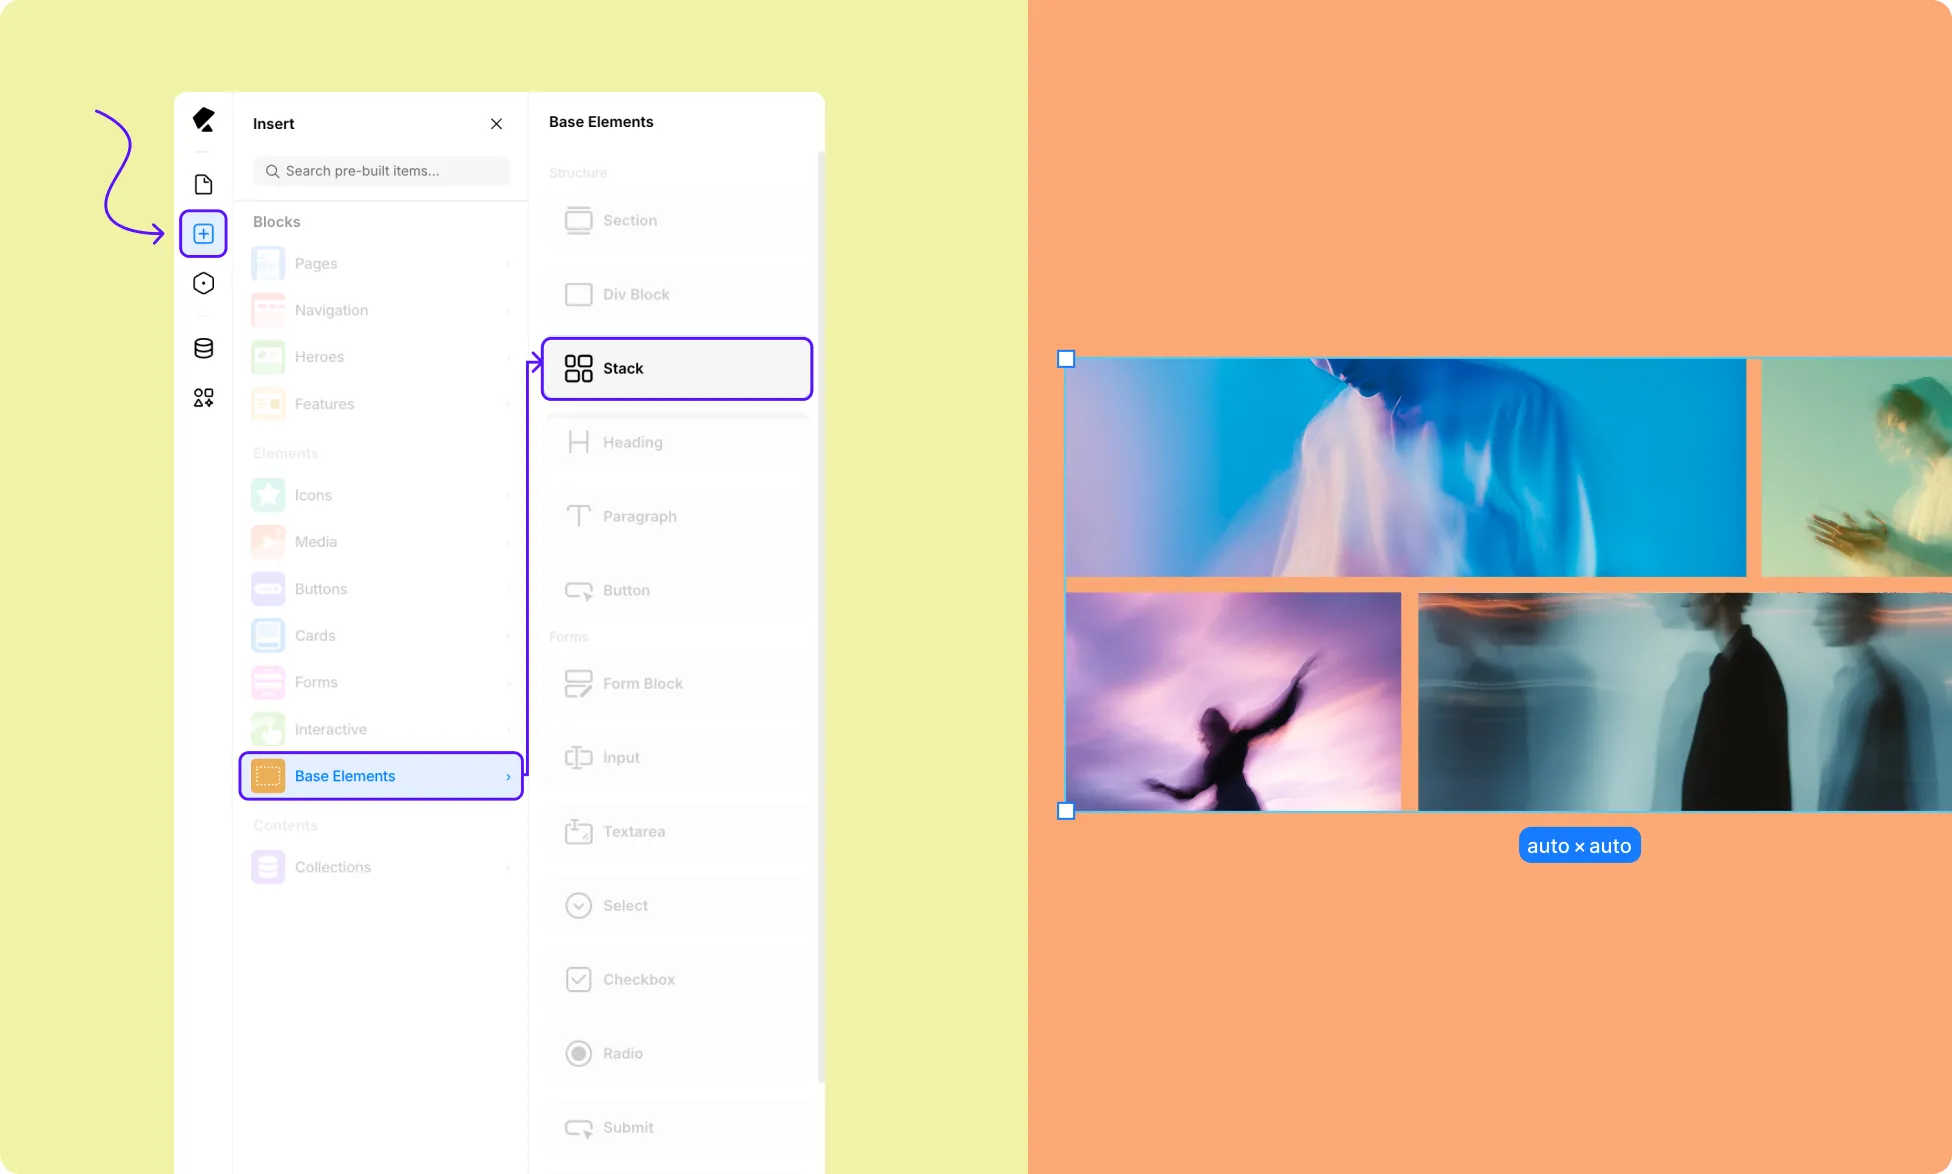
To add a Stack element:
- Open the Insert panel from the Left Sidebar.
- Go to Base Elements and scroll down.
- Click or drag the Stack element onto your canvas.
Stack’s Preset Layout
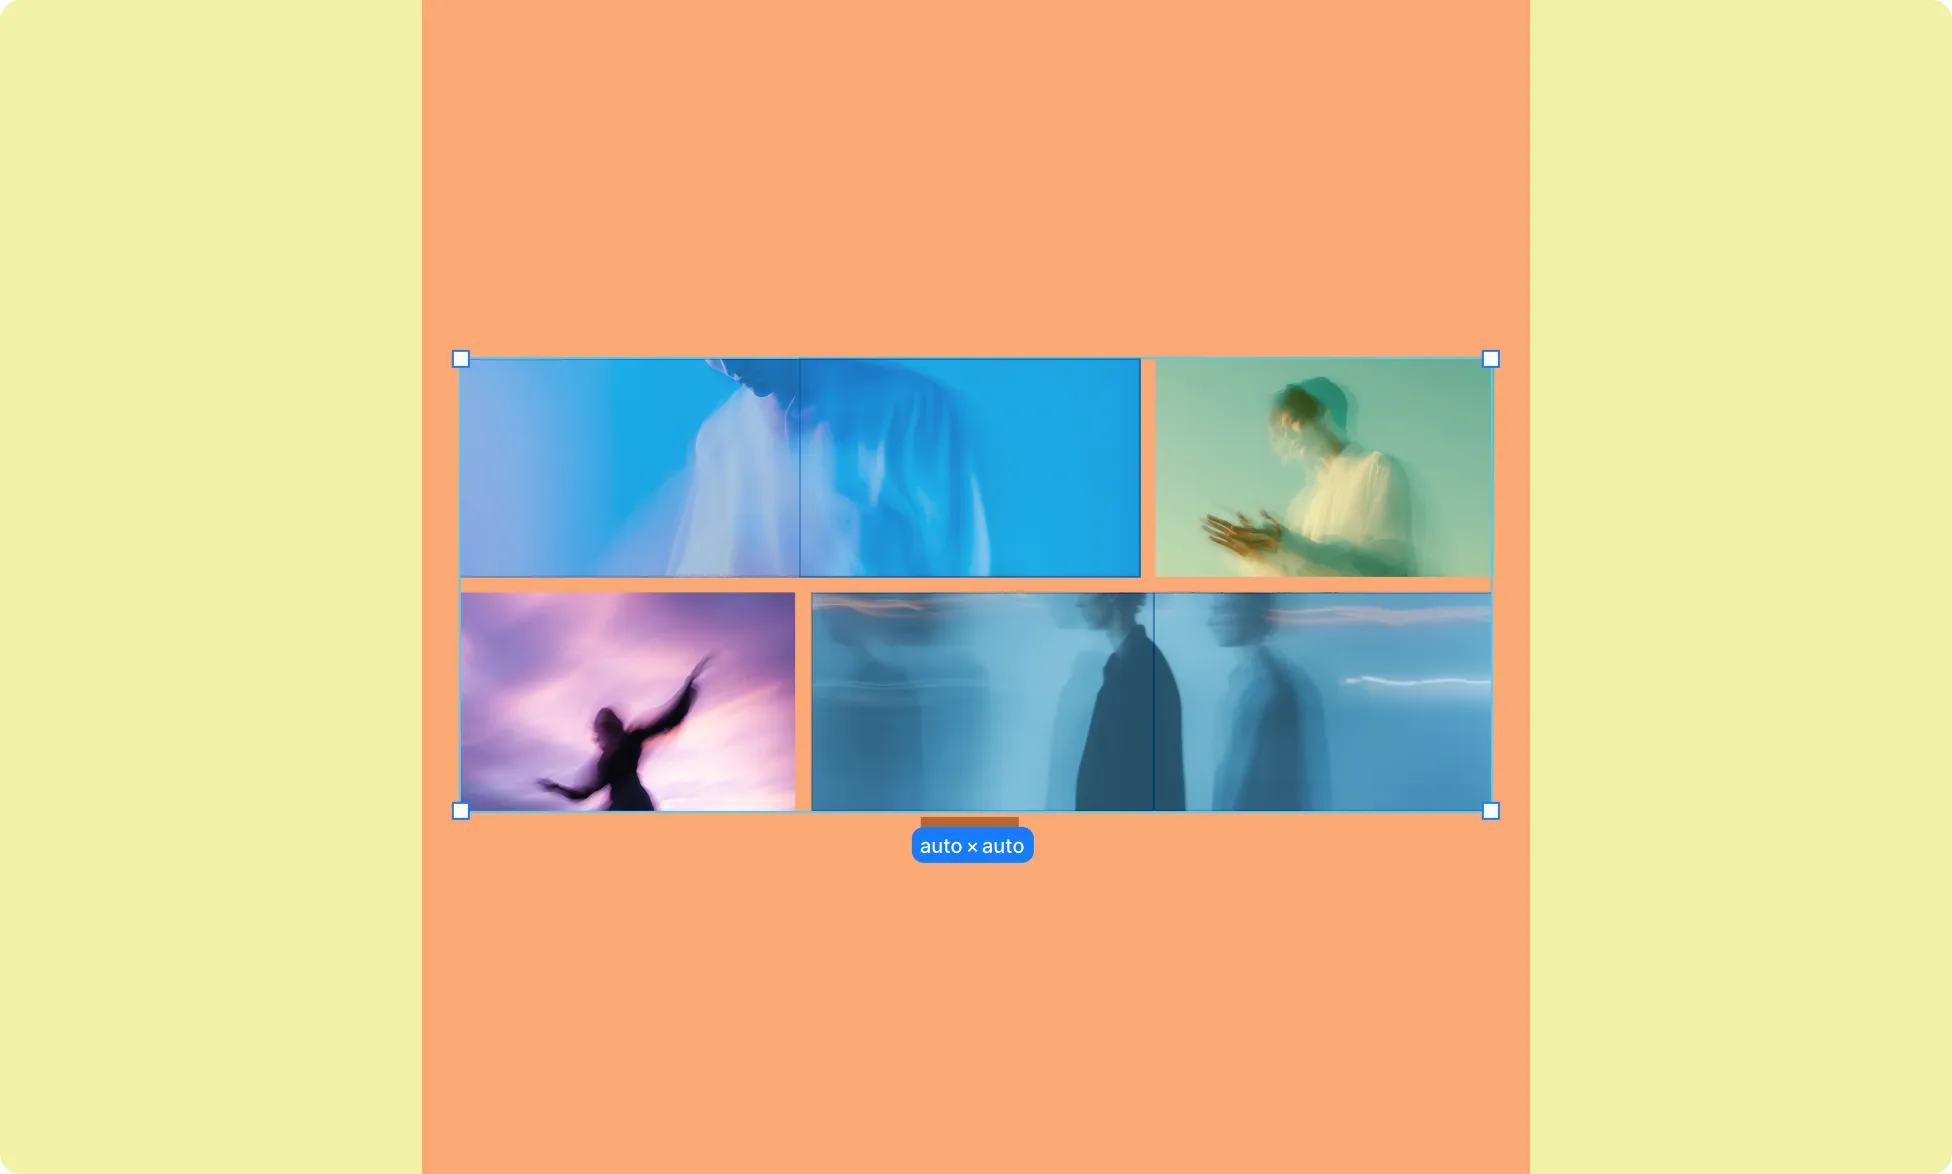
Once added, the Stack appears on the canvas with a 2-row, 3-column grid and two predefined grid areas. These areas are what make the offset pattern work – they control how child elements span across the grid and overlap.
You don’t need to configure these to get started. But if you want to inspect or extend them, you can do so.
Add Content to Stack
Since Stack is a structural element, you can add any element inside it:
- Open the Insert Panel or use the Element Island to select an element.
- Click a Stack cell to place it. Elements are added to the next available cell by default.
- Repeat to fill the Stack with content.
Apply Area Stack Elements

By default, each element in a Stack occupies a single cell. To make an element span across the Stack’s predefined areas and achieve the offset pattern, you need to:
- Select the element.
- Under Sizing in the Right Panel, set placement to Area.
- From the dropdown, choose from the predefined areas you want it to occupy.
You can also define more rows and custom areas to control placement beyond the defaults.
Learn more about Grid Areas.
Add More Offset Rows to Stack
By default, Stack comes with two rows, three columns, and two predefined areas spanning the preset grid. To extend the pattern with additional rows:
Add Rows to Stack
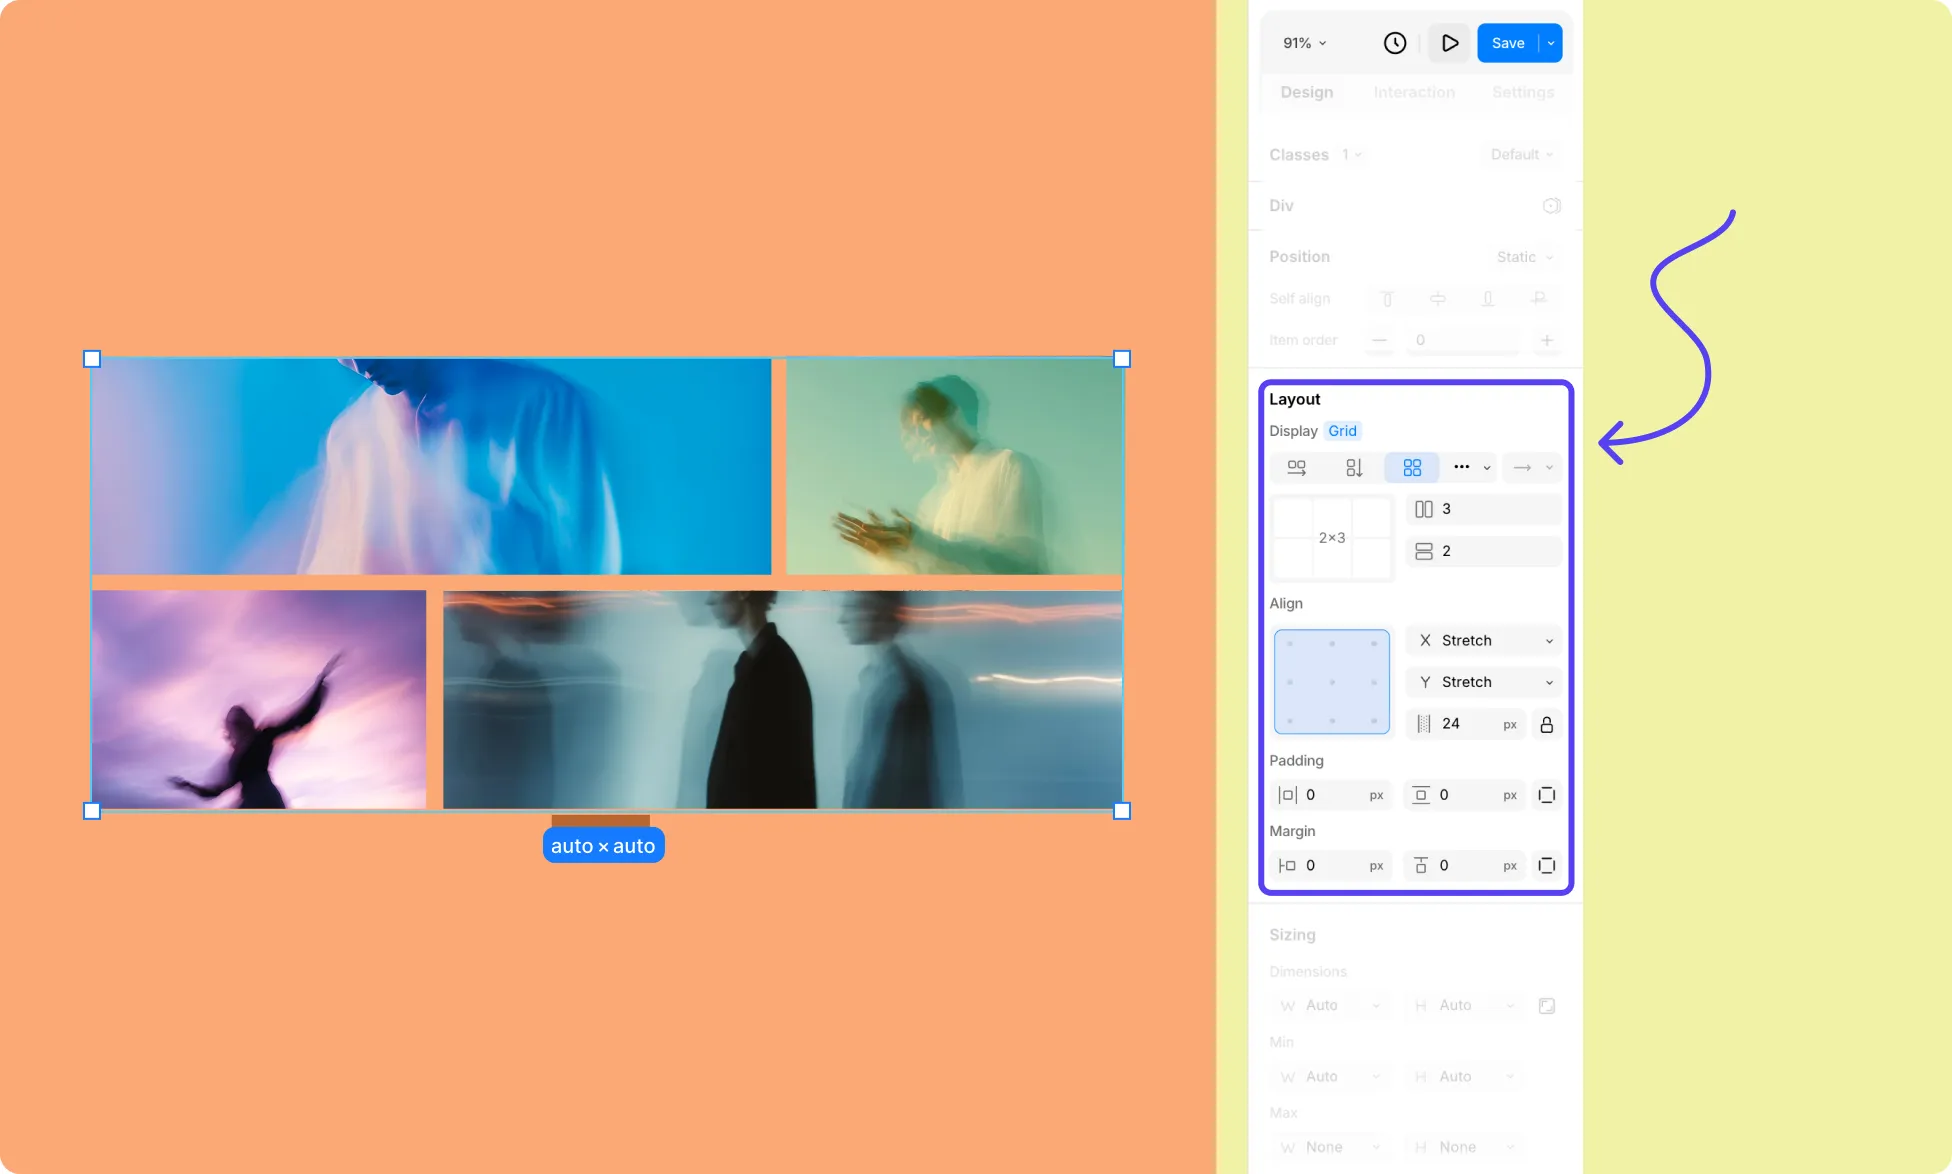
- Select the Stack element on the canvas.
- In the Right Panel, go to Layout. Here, you’ll see the Grid settings.
- Edit the Row field value to add more rows, or click the grid preview to set them visually.
Define an Offset Grid Area
- Select the Stack element on the canvas.

- Hover over the left edge of a row or the top of a column to reveal its sizing, then click the dropdown arrow icon to access more options.

- Select Define Grid Area.
- For the new rows, click an undefined cell and drag its borders to extend it.
- To replicate the offset pattern, define areas in pairs. Since the last preset area spans the middle and right cells, define the next area to span the left and middle cells – then continue alternating with each new row pair.
Add More Columns to Stack
By default, Stack comes with two rows, three columns, and two predefined areas spanning the preset grid. To extend the pattern with additional columns:
Add Columns to Stack
- Select the Stack element on the canvas.
- In the Right Panel, go to Layout. Here, you’ll see the Grid settings.
- Edit the Column field value to add more columns, or click the grid preview to set them visually.
Extend the Offset Grid Area to the New Columns
- Select the Stack element on the canvas.
- Hover over the left edge of a row or the top of a column to reveal its sizing, then click the dropdown arrow icon to access more options.
- Select Define Grid Area.
- For each area, drag its borders to extend into the new columns. How far you extend each area is up to you – you can grow them proportionally, or use the extra columns (and rows) to create a more complex staggering pattern of your own.
Learn more about Grid.
Was this page helpful?