
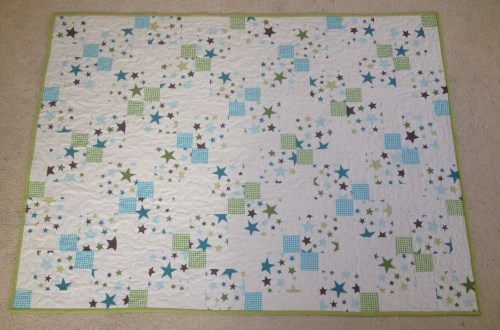
I recently finished two quilts using a very easy block, a classic: the Disappearing 9 Patch. I think it is the first block I ever made…. and one of my favourite ones because it is great for beginners and is very versatile. If you choose your fabric carefully you can end up with endless colour and print combinations with great results for the final pieced top.
For this block I used 3 different prints:
- One print for the central square. This will become 4 little squares.
- A second print for the squares in the corners, which will remain the same size.
- The third print for the squares at central top and bottom, left and right, will become rectangles.
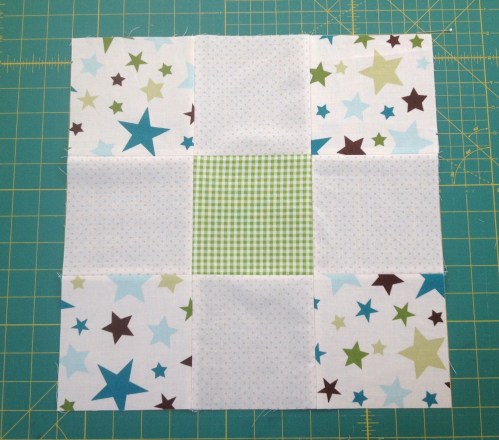
Knowing this, you can anticipate the look of your final quilt.
For a scrappy look, you can use lots of different fabrics or combine random prints for all the squares except for example the ones in the centre… There are lots of different ways to play with the fabric combinations in this block.
Here are a few tips for making a perfect Disappearing-9-Patch block:
- Make sure you use starch when pressing your fabric before you cut it into squares. It helps to set the woven threads and the cut squares will keep their shape longer before you sew them together.
- Always pin your fabric to prevent it from moving while you sew and stick to your ¼” seam. When aligning your squares together, start pinning at the centre and move towards both sides.
- Press the line of stitches after sewing, while right sides of fabric are still together, to set them flat and then press the seams open. I always press my seams open, I find they help the pieced top lay flat more nicely.
- Just PRESS, and DO NOT IRON. Pressing means to lay your hot iron onto the fabric for a few seconds without moving it back and forth. Ironing means the opposite, moving the iron all over the fabric, this is ok for clothes, but not for patchwork, otherwise the grain will move and the pieces will loose their shape.
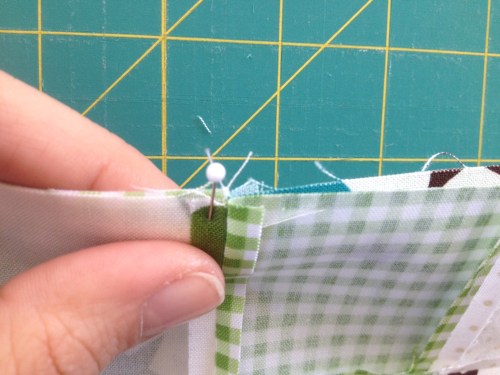
- When you are ready to sew one row of 3 squares onto the row below, align the edges while making sure that you match the seams (which are pressed open) between the squares, and pin together these seams first (again start at the centre and work your way towards both sides). Placing the pin on the left seam (this way ensures that when you are sewing the two pieces the seam at the bottom won’t flip over.

When you have the basic 9 patch block ready, with all corners perfectly matched, you can cut the block into quarters
Cut vertically right on the middle.
Next, cut the block horizontally (You can move your cutting mat or walk around your table instead and it will be easier to cut vertically again).

Now you can also play with the layout of the quarters of this block and arrange them in different combinations.
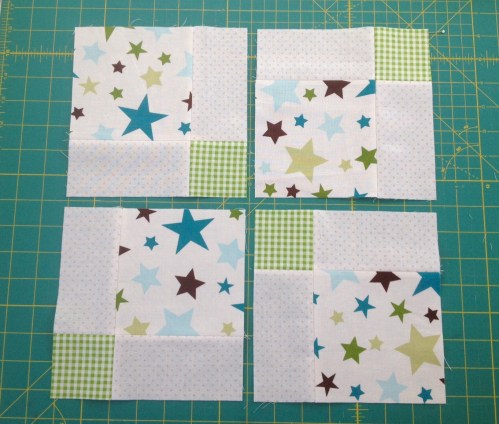
I chose to turn two opposite quarters and place the tiny squares to the outside corners. But you could turn around all four of them or one or three… Just experiment and see what you like.
Here’s another combination:
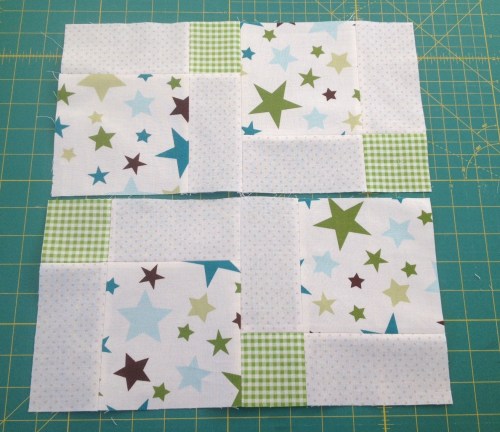
Once you decide how to arrange the quarters, sew them together. Follow the same method as before, by matching the seams, pin them together to avoid unwanted twists and press them open (I need to press those opened seams a bit more!:-D)
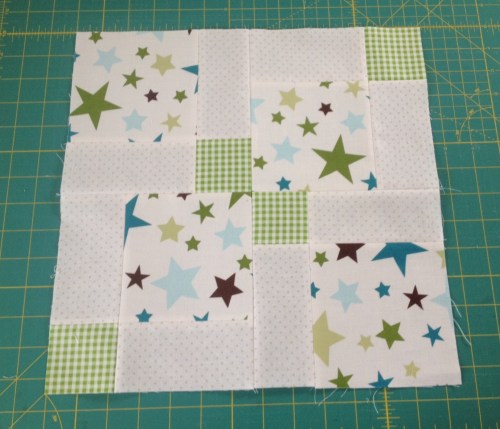
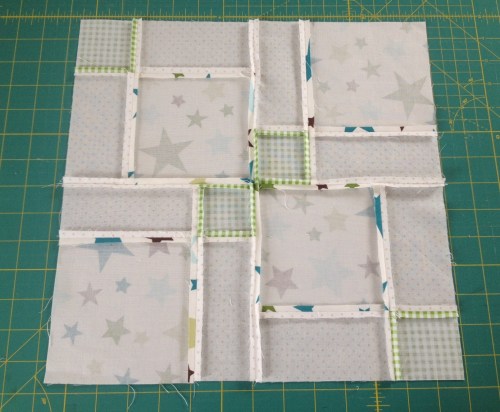
You will have the Disappearing 9 Patch with perfect matching corners lying nice and flat.
It is handy to use precut squares like a charm pack (5” squares) or just cut them into whatever size you need. I have build up a big stash of 5” squares over the years out of leftovers and generally use them for projects like this.

When using 5” squares the final size of the basic 9-patch block is 14.5” and the disappearing 9-patch will be then 14”.
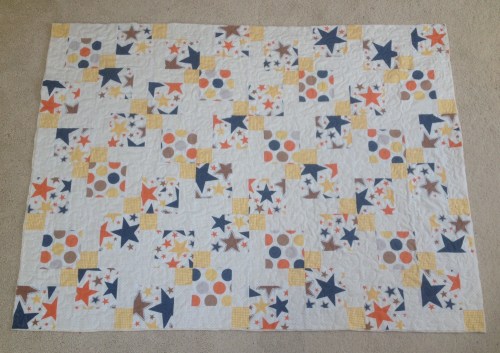
I’m sure many of you have made this block before, I’d love to see what it looks like. Feel free to link it in a message if you like!
Thanks for reading !






 I have two Velux windows (windows on the roof) giving the perfect light for the whole room. One of them projects the light onto my worktop (that I recently got so I didn’t need to use a camping table any more!) which is great for taking good photos.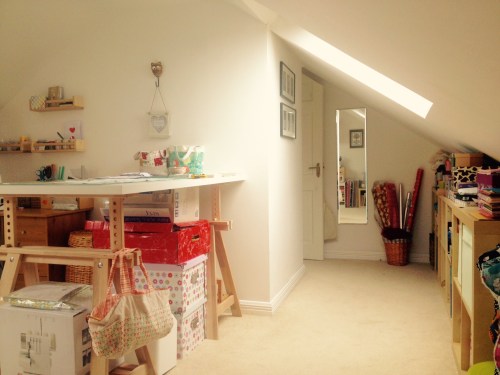
 With a bit of shuffling around, I could move the furniture I had and use it very well. As you can see, they could probably use this room for one of the Ikea catalogue pages! That’s what happens when there isn’t much of a choice for furniture shopping in your area. Most of it is donated and up-cycled. Good thing that almost everyone loves Ikea… I have lots of baskets that I get in charity shops, they look nice and are great for storing small items and I can always use them as preps for my Christmas market stall.
 I love the light from the other window above the futon… Sometimes the kids come up to stay with me (I do feel guilty many times, spending a long time upstairs completely forgetting about the time! I do need a clock on the wall) so they can sit down and watch a movie on my laptop, do some homework or play with a few toys.
 One thing I have mixed feelings about is the carpet. I do not like them. I am allergic to dust and I think they are not hygienic at all. But I did not have a choice. What annoys me most is that if I drop a pin, as it happens sometimes, I can’t hear it and it is hard to find too! Then my foot is the one finding it, and it’s not fun. But it is nice to walk bare feet on them. I am not allowing shoes upstairs anyway…
 I’m using my old desk for the sewing machine, and I finally got my shelves up (yes, Ikea spice racks), which never had the fortune to be up in my old sewing room. It helps having the desk clear. The big wicker basket is where I keep all my wool and knitting stash. Lots of boxes under the work top, my serger (I got a new one! – will blog about it too) and my Brother sewing machine, which is taking a rest at the moment. I use an ottoman to store my wadding and it serves me as a seat too.
 Finally, I have found a place for my ironing board that has it tucked in and out of the way when I’m not using it. I have a tiny travel iron that works perfectly when I only need to press seams when piecing. I still can’t believe I got it 5 years ago in a local shop for €1! When I need to press and iron big quilt tops I use my proper iron that I keep in one of the baskets when not in use. One thing I do really need is a new cover for the ironing board…
 If you are new to my blog, you are very welcome! My name is Irina, I have been quilting, sewing, knitting ,quilling…you name it… for a few years and although this blog is not as active as I’d like to, I like writing about what’s going on in my sewing room.
 The story behind this quilt starts over a year ago, when I decided to join my first quilting bee with the
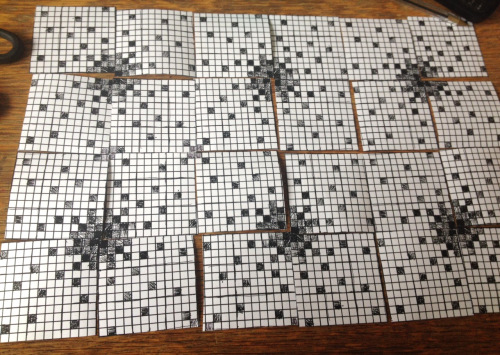


 I love every single colour of the rainbow, each of them has a different spot in my everyday life, but I always tend to go for reds (I love red shoes!) and I always wanted to make a quilt where red was on the lead. Now, so far my plan was working and when I started to receive all those blocks and was putting them together, it was really exciting to see how that photo (above) with the design drawn on graph paper was materializing on fabric (and in colour!). I retouched a few bits here and there to make sure they all were 12.5″ square , made some extra blocks to complete the whole plan and here it is. The bee sisters did a good job (I promise to join with a much easier block in the future) and I am grateful for their help and effort they put into this. So what happened with the plan? Well… I envisioned a lovely busy pattern for the backing, some red gingham or small little red flowers… I found the right one over at
  Conor decided he could help by mixing all the different sizes of safety pins into the same bowl, and discovered that they were even printed on the fabric!
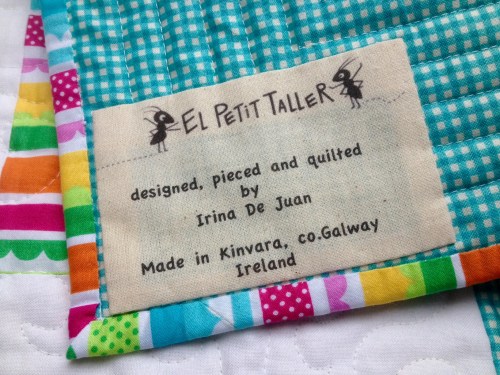
 The quilting was another story. I didn’t really have a plan yet, but several ideas were cooking in my mind. I didn’t want to do the steepled free motion pattern. I like it, but I wanted to try something different. I wanted to highlight the piecing but straight lines from end to end wasn’t my cup of tea either. I wanted to do concentric circles or scallops, something curvy, but I couldn’t figure out how would I be able to turn the quilt and squeezing it under the arm without messing the stitching. And because I was literally running out of time… I did this: Each quarter of the block striped up alternately in horizontal and vertical lines, some in the ditch (or at least I tried to) others across the piece. And I really like it 🙂 And the final misfortune… My printer run out of ink (of course!!!) so I took a permanent pen and drew my little ants on a piece of calico cotton and made my own handmade handwritten label.
  Hiding all the threads was really time consuming, and I haven’t finished yet (I know… please do not look very close if you happen to go to the exhibition… I WAS IN A HURRY!)




 El Petit Taller

