Pages

Showing posts with label MFT. Show all posts

Saturday, 27 August 2022

LIMES: Geo Happy Birthday!

Welcome to this week's LIMES inspiration post!

I chose this card as my inspiration from the gallery of this week's Splitcoaststampers' Featured Stamper, Sandye!

LIST: Colours (rainbow, black, white) Techniques (reverse stenciling, inkblending, heat embossing) Elements: rainbow colours, geometric pattern, black sentiment speech bubble with white embossing, clear gems)

INCLUDE: rainbow background with dark geometric areas, stenciling, inkblending, clear gems

MODIFY: use of layered stencils, grey instead of black, pastels instead of bright rainbow, inlaid diecut sentiment 

EXCLUDE: heat embossing

SPIN: negative frame with inner portion 'turned' to break up pattern and add interest, white gel pen dots

I love geometric patterns partly because they can be used for any occasion, simply by changing the colours and sentiments.


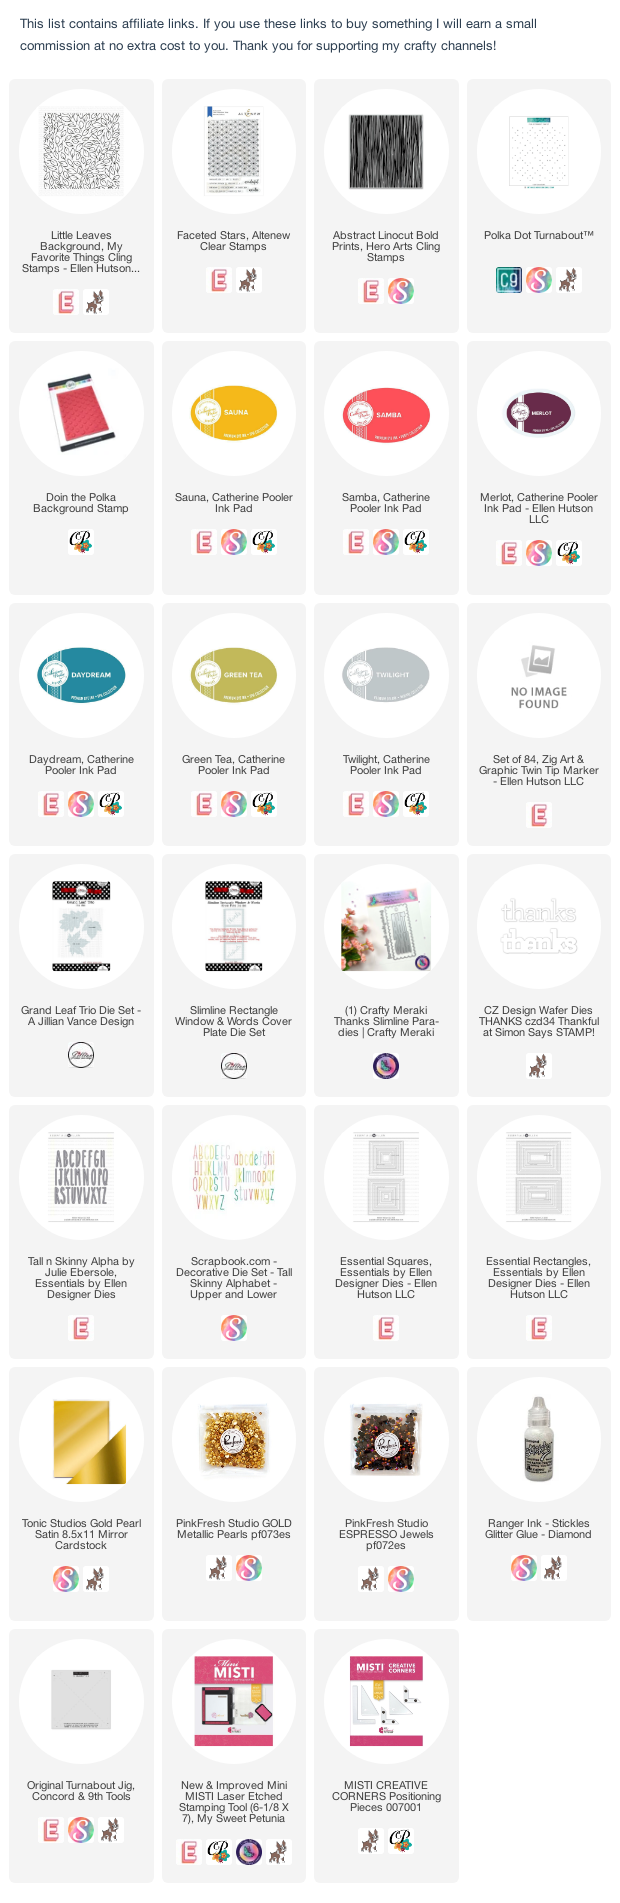
This is a fun layering stencil set that contains 3 stencils but I only used 2 of them - one you turn 90 degrees 4 times, to create the dimensional cubes, and the second one adds the centres. I blended my rainbow inks diagonally from top right to bottom left each time I turned the first stencil, but on turns 2 and 4, I put down two layers of ink. This variation in intensity is what gives the pattern the 3D look.

When I have a large panel of a pattern, I often use my Essential Shapes dies to cut out a smaller panel with a narrow frame, then re-mount the inner panel without the frame. This helps to draw the eye into the centre and I think it works especially well with a geometric pattern like this.


Wednesday, 13 October 2021

Lego-Inspired Cards for Teen Boys


 Teen. Boys. These two words strike fear into many cardmakers' hearts, mine included. In my extended family I have 3 nephews who have birthdays in late autumn, and when I find a design I like, they often all get the same card (even the twins! lol! I made 2 15 cards and 1 14 card)

We love Lego, and we even watch YouTube videos about the latest sets. This design was inspired by the Lego World Map kit:

I focused on the colours and the dots.

I started by stamping an old MFT background stamp (Simply Circles) onto white cardstock, and then I used Copic markers to colour in the dots. I finished by filling in the white spaces between the dots with a black marker, trimming the panel and gluing it to a black card base.

I made a mistake on my 4th panel and had to cut it down, and made this one:


Friday, 17 September 2021

Get MORE from Background Stamps


Background stamps are more versatile than I thought! This week's video explores this hardworking craftroom hero. Check it out here (and more cards below!):


Friday, 21 May 2021

OUT OF TIME? 5 CLEVER ideas for SUPER-QUICK cards!


Today, I've got a new video with 5 ideas for making a card in less than 5 minutes! Be sure to watch to the end for a couple of surprises!


Click HERE for  the free PDF with Time Saving Tips and ideas for building a Quick Card Tool Kit!

Thursday, 4 March 2021

Finding Patterns in Patterns


You know I love to get more out of my stamps and one way to do this is to find a pattern within a pattern. This Peacock Patter background from MFT Stamps is classic and beautiful, and I found tulips!

I started by stamping the background with copic-friendly ink onto a white panel. I used a MISTI and left the stamp on the door.

I isolated and coloured the row of tulips with Copic markers and then cut masks before blending ink over the rest of the panel.

Finally, I put the panel back into the MISTI and restamped with embossing ink before heat embossing with gold powder.

I trimmed the panel with two Essential Squares dies which cut frames around them - I popped the two squares up on a black panel and then added a heat embossed sentiment.

Thursday, 26 November 2020

25 Days of Christmas Tags 2020 - BONUS Day 26!


Welcome to BONUS Day 26 of this year's 25 Days of Christmas Tags event. All the details can be found here on Tracey's blog.


Today's sponsor is MFT Stamps.

I used the new Peacock Pattern background stamp to create my sophisticated tag. I embossed it with Silver embossing powder onto Memory Box watercolor paper.

Then I sprinkled Tonic Nuvo Shimmer Powders (Catherine Wheel and Cherry Bomb) over top and spritzed it with water. The powders moved and separated into these colours, settling into the wells created by the embossing.

I added a (retired) Joy die cut that had been embossed with Platinum Sparkle embossing powder.

Friday, 1 May 2020

Easy Light Up Dance Floor card with EZ Lights (and a Video Hop!)


Good morning! Today I'm excited to be part of a video hop to show you how easy it is to use EZ Lights from Pear Blossom Press!


Here's a link to my video with all the information - there are giveaways, so be sure to hop and comment for a chance to win!


Thursday, 21 November 2019

5 (PLUS 5!) Christmas Card Ideas (Collaboration with Ingrid)


Today, Ingrid and I have 10 ideas for Christmas cards to share with you.

Here's my video - and I have a link to her video in my video description on YouTube.


Wednesday, 6 November 2019

Simple Snowflakes Two Ways (MFT Stamps Nov 2019 Release)


It's always nice to be able to get different looks to get more out of your stamping supplies and here's two cards that I made with the new MFT Stamps Simple Snowflakes Background.

The blue one has an ink-blended panel and then snow embossed with Sparkling Snow embossing powder from Wow!

The pink one is stamped with pink inks on white cardstock, and then I used Tonic Crystal drops to create tiny flower centres. And that perfectly-matching coloured cardstock? Made with my Catherine Pooler ink pads - it's so easy!

Both sentiments come from one Dienamics die from last month's release.

Here's a video:


Friday, 18 October 2019

Santa Wreath (Ellen Hutson / MFT Stamps Collaboration Party!)


Today, some of the Ellen Hutson Design Ambassadors and some of the MFT Design team are having a linky party and we hope you'll join us! See below for links.


We are pairing up some of the newest goodies from both companies!

I made a video to show you how I made this Santa wreath card:


You are invited to the Inlinkz link party!
Click here to enter

Saturday, 12 October 2019

FS662 - Joyful Wreath


Congratulations to this week's Splitcoaststampers' Featured Stamper, Diana Gibson.

I chose this card as my inspiration:


I focused on Diana's:
-wreath
-die cut sentiment in the centre

I changed:
-colours
-more white
-my diecuts are all inlaid
-no stamping

I started by creating a plaid panel. (here's a video with tips and tricks for easily creating plaid backgrounds for your cards).

I cut the new MFT Stamps Joyful Wreath from the centre of the panel, and kept the rest for my mat layer.

I inlaid the wreath into a white panel of cardstock, and I inlaid a black 'Joy' into the centre. (here's a video with tips and tricks for easy inlaid die cuts).

I coloured some cardstock and then cut the berries, I glued them around the wreath  and then shaded each one for some dimension. I also added tiny white dots with a gel pen for 'shine'.

Then I coated the Joy and the berries with some Stardust Stickles for sparkle.


Friday, 11 October 2019

Joy, Love, Peace 2 Ways (MFT Release)


Today I have a couple of cards from the new MFT release which is available now!

You may see a theme here - lots of Joy, Love and Peace! My first card uses the new Peace Love and Joy stencil and some bright Catherine Pooler inks. I masked off each word so that I could blend the ink accurately through the stencil.

I used the new Gift Tag die and Holiday Tag Talk sentiment stamp set to create my focal image. Notice my homemade plaid that matches the background! lol!

The confetti is berries from the new Joyful Wreath die set, which I'll be featuring in a video next week.


The second card uses the Joy Love Peace die - check out those cool letter centre pieces that fit perfectly into the words! And again, my background is a homemade plaid with reds and greys - here's a video I recently made with tips and tricks for making your own plaid backgrounds with markers.


Wednesday, 17 April 2019

Fixing Cardmaking Mistakes


I'm excited to be a part of a series of collaboration videos that Justine is making this month. Today, we each have a video to show you some fixes for common cardmaking mistakes.

We all make mistakes when we're creating, whether it's smudging a panel, not getting a good stamped impression, or mis-aligning things. I know we've all been there!

There are lots of ways to prevent making these mistakes, but that was not the focus of this video. I'll admit it was a little strange to not use those methods, and even stranger to sometimes make the mistake on purpose, so I could show you how to I fix it!

Everyone makes mistakes, and I think that the secret is to try to fix them so that no one but you even knows they are there. My video is below. Be sure to also check out Justine's video to see her tips and tricks!


Sunday, 3 February 2019

FS626 - Happy Birthday, Friend


Congratulations to this week's Splitcoaststampers' Featured Stamper, Joyce (aka Cookielady01)

I chose this project as my inspiration:


I focused on Joyce's:
-grid layout
-botanical theme

I changed:
-technique (ink blending and stamping)
-season/colours
-added a sentiment

I created a mask with the MFT Horizontal Collage Cover Plate die and trimmed it to a square. I blended Catherine Pooler ink into each square, following a rainbow transition. I stamped a leafy branch stamp from Bold Blossoms into each square before removing the mask.

My sentiment was created by stamping 'Happy Birthday' from From Me to You and inlaying 'Friend' from Words for Friends.

Here's a video:


I used:

Sunday, 18 November 2018

FS615 - Joy & Cheer


Congratulations to this week's Splitcoaststampers' Featured Stamper, Crystal (crykomara). I chose this card as my inspiration:


I focused on Crystal's:
-layout
-cute characters
-one larger word in sentiment
-frame
-floating elements

I changed:
-season
-framed my 3 characters instead of the panel
-size/shape of card
-hearts to snow

I started by cutting a 4x4 white panel with the Circle Trio Shaker Die-Namics. I laid the die off the edge and cut two on top and then one underneath.


I used the circles that were cut and stamped these little cuties from Snow Special, offsetting them and then coloured them with Copics.

I cut 3 frames and coloured them with matching Copics.

For my sentiment, I used one that came with the Snow Special set, but used a die cut Joy instead of the one that was part of the stamp.

I added magical 'snow' from Santa's Elves.

I used:

Wednesday, 14 November 2018

MCV113 - 25 Days of Christmas Tags


Good morning! Today Muse: ChristmasVisions is sponsoring Tracey McNeely's annual event:


If you don't know about it, pop over to Tracey's blog for more details.

The MCV Design Team chose a theme of Botanicals for our day. Any kind of Christmas plant qualifies! You can link up at both MCV and 25 Days.

I started by cutting an MFT tag from white cardstock and blending it with Skylight ink, fading it out to white at the bottom.

Then I cut a sprig of Mistletoe, using an Alexandra Renke die. I coloured it with Copic markers and then stacked it up with 3 more die cuts before gluing it to the tag.

I stamped my MFT sentiment before adding some Stickles to the berries and to the edges of the tag.

I used: